

What Make Cameras Make Rays
Low-cal rays volition amend limerick, tell a story, and open the door to many new artistic possibilities. Read about how to create light rays even at home. All you need is a few bones items that y'all are sure to find lying around the house. Get inspired and you lot're sure to come up with more ideas for great photos during the photoshoot.
Light rays appear when there's something in the air for them to bounce off of. Smoke, fog, dust particles, steam… Any light source captures it and creates a ray of light. When shooting indoors, fog is the nearly practical. Then, all you need is some directional lighting, an object to shine the light through, and you lot tin can brainstorm creating!
An ordinary pocket flashlight makes a skillful, withal cheap light source
Of course some type of steady or strobe light would exist more professional. But we wanted this tutorial to allow you to endeavor out the process with items commonly institute at habitation.
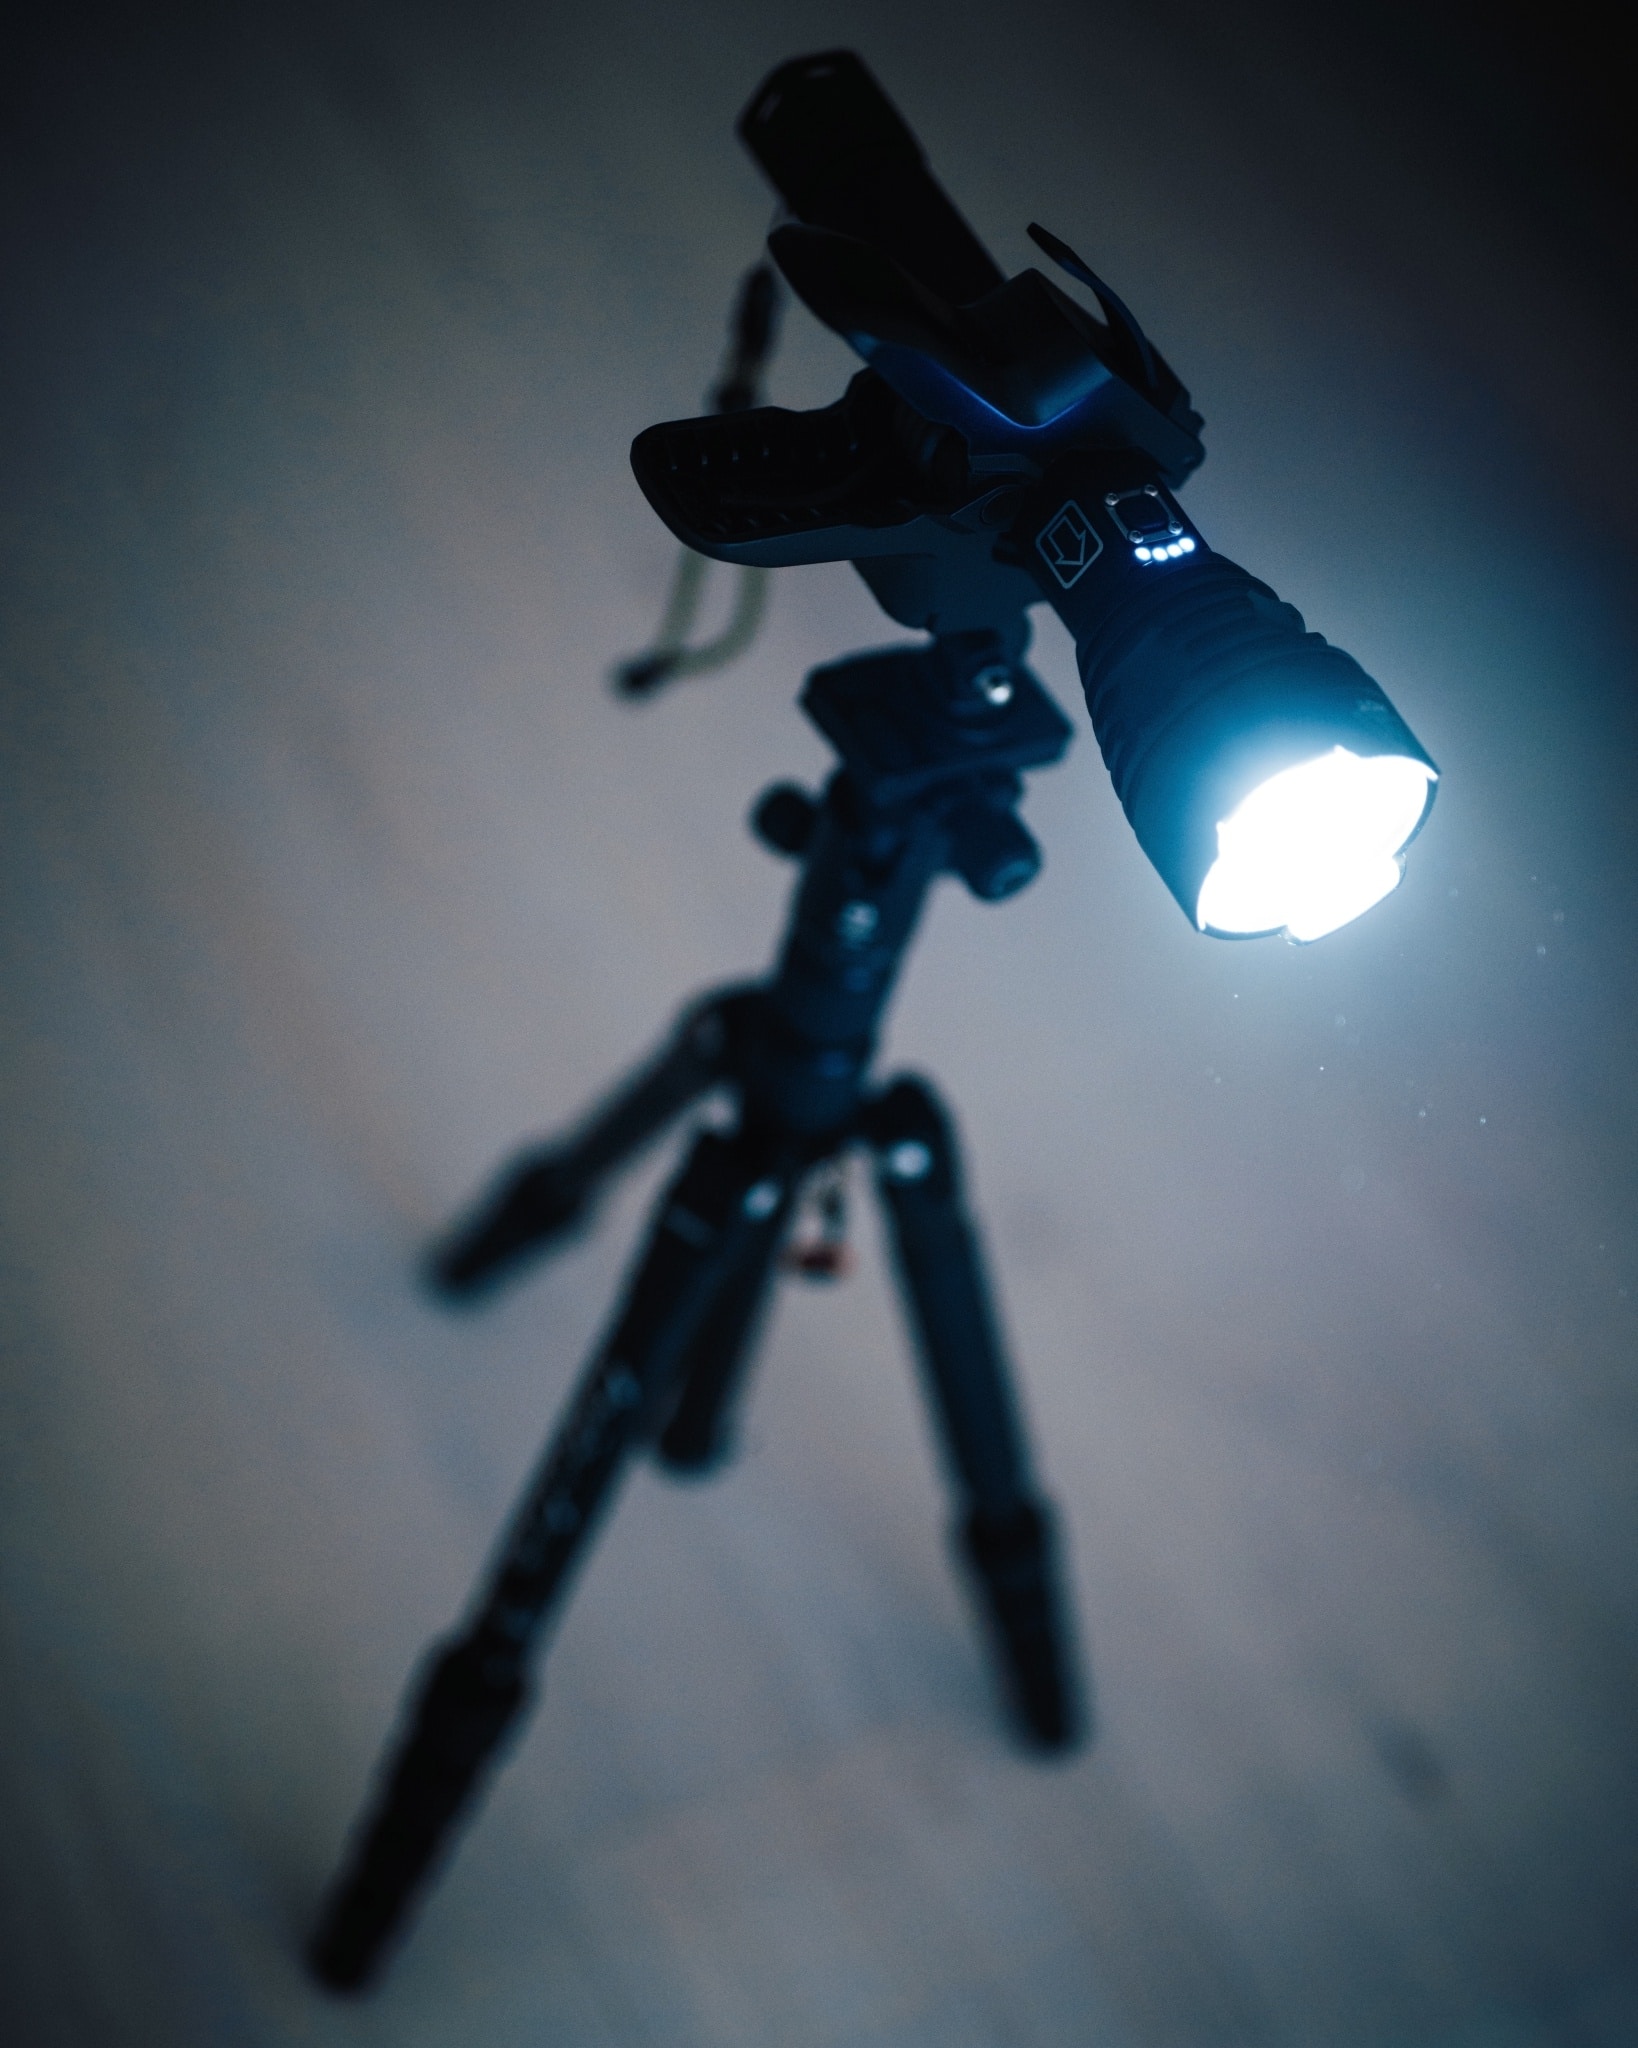
We used an ordinary LED pocket flashlight that costs no more than than a few dollars and attached it using a simple holder to a tripod. The reward of using a flashlight is the option to arrange the width of its beam using the front end of the flashlight. This isn't rocket science. Flashlights have always had this characteristic. Information technology allows yous to create directional lighting and as a result, low-cal rays.
Finally, nosotros filled the entire room with fog. Smoke, steam, or dust particles besides work, merely fog is reliable and allows you to breathe easily indoors. A fog auto for making light rays is probably one thing you won't be able to discover at home. Then once more, it's not such a major investment.
You tin too go by without a fog automobile. If y'all want your portraits to consist of shadows instead of light rays, read the commodity Learn to take stunning portraits through window blinds .
For a simple outcome, cardboard with holes volition do
We attached a piece of cardboard with holes poked in it to the 2nd stand. Here, bigger is definitely ameliorate. We struggled a chip with the size of the cardboard considering the edges were visible and required more effort to hide when composing the photograph. Nevertheless, we were able to come up up with several solutions correct away.
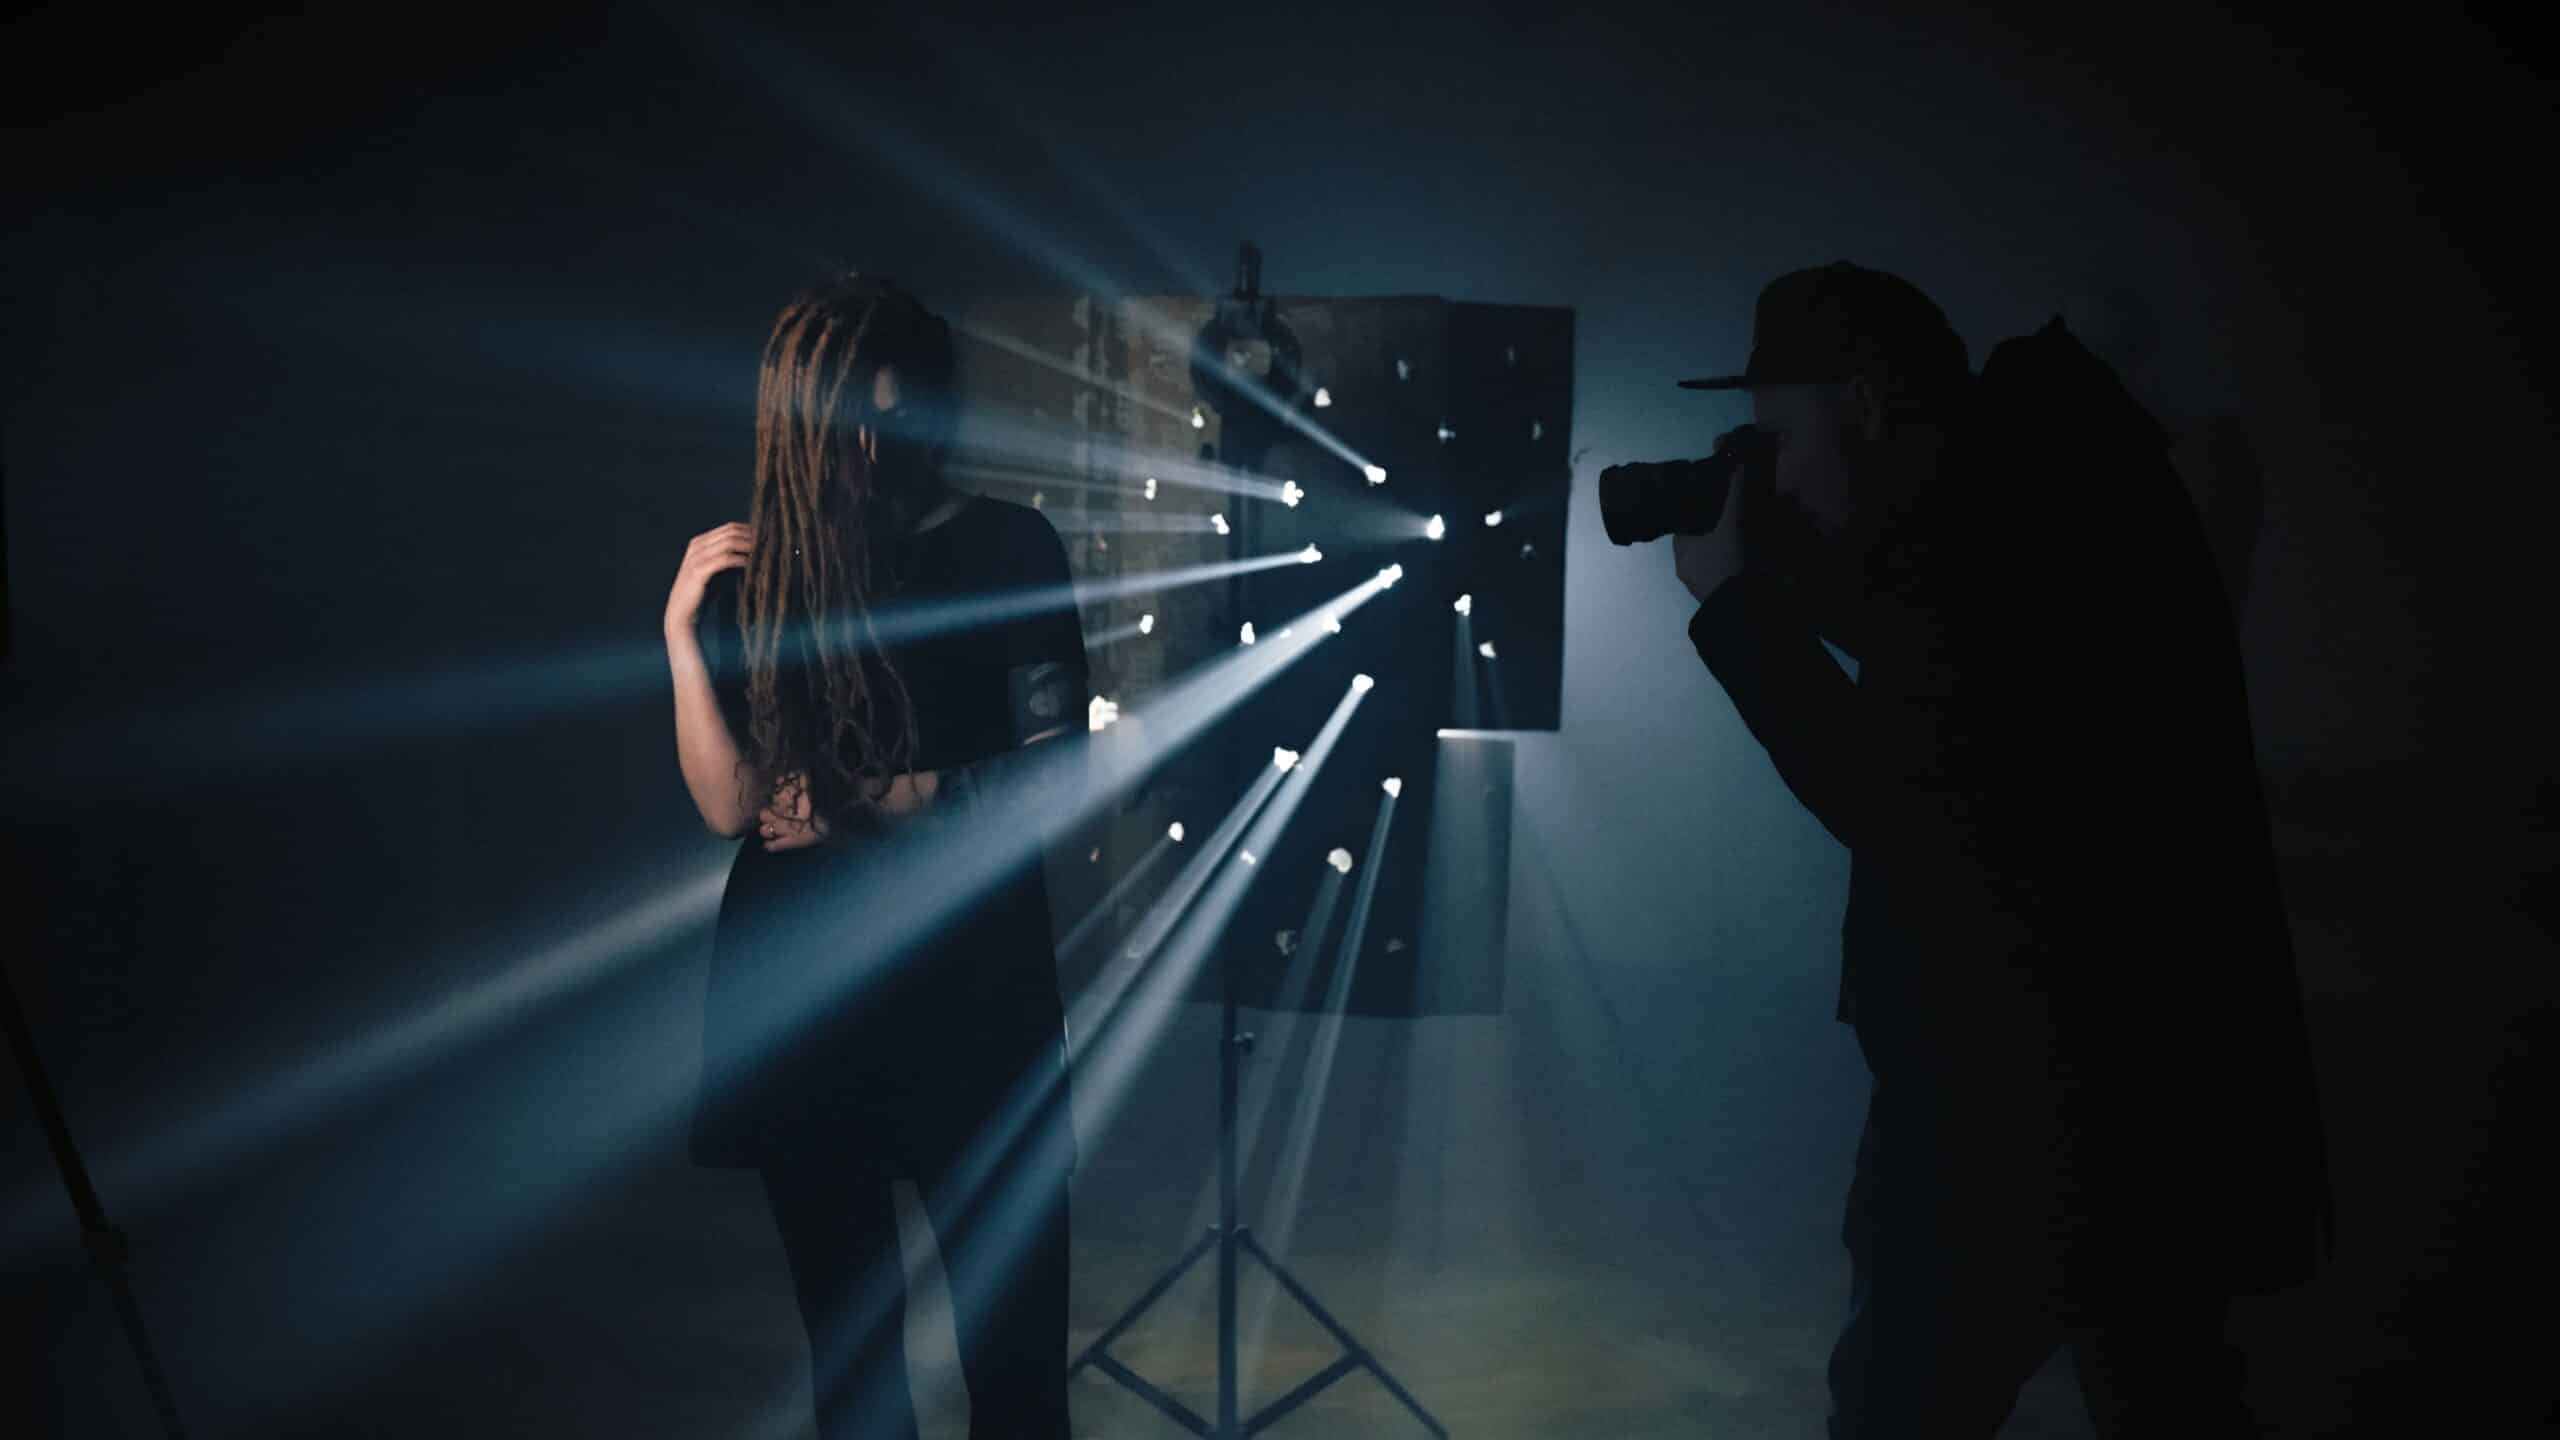
The first simple solution for the unsightly box was to shoot perpendicularly and capture the lite rays from the side. This way, the low-cal source was not in the shot.
Nikon Z6, 24mm f1.4, i/250, ISO 1250.
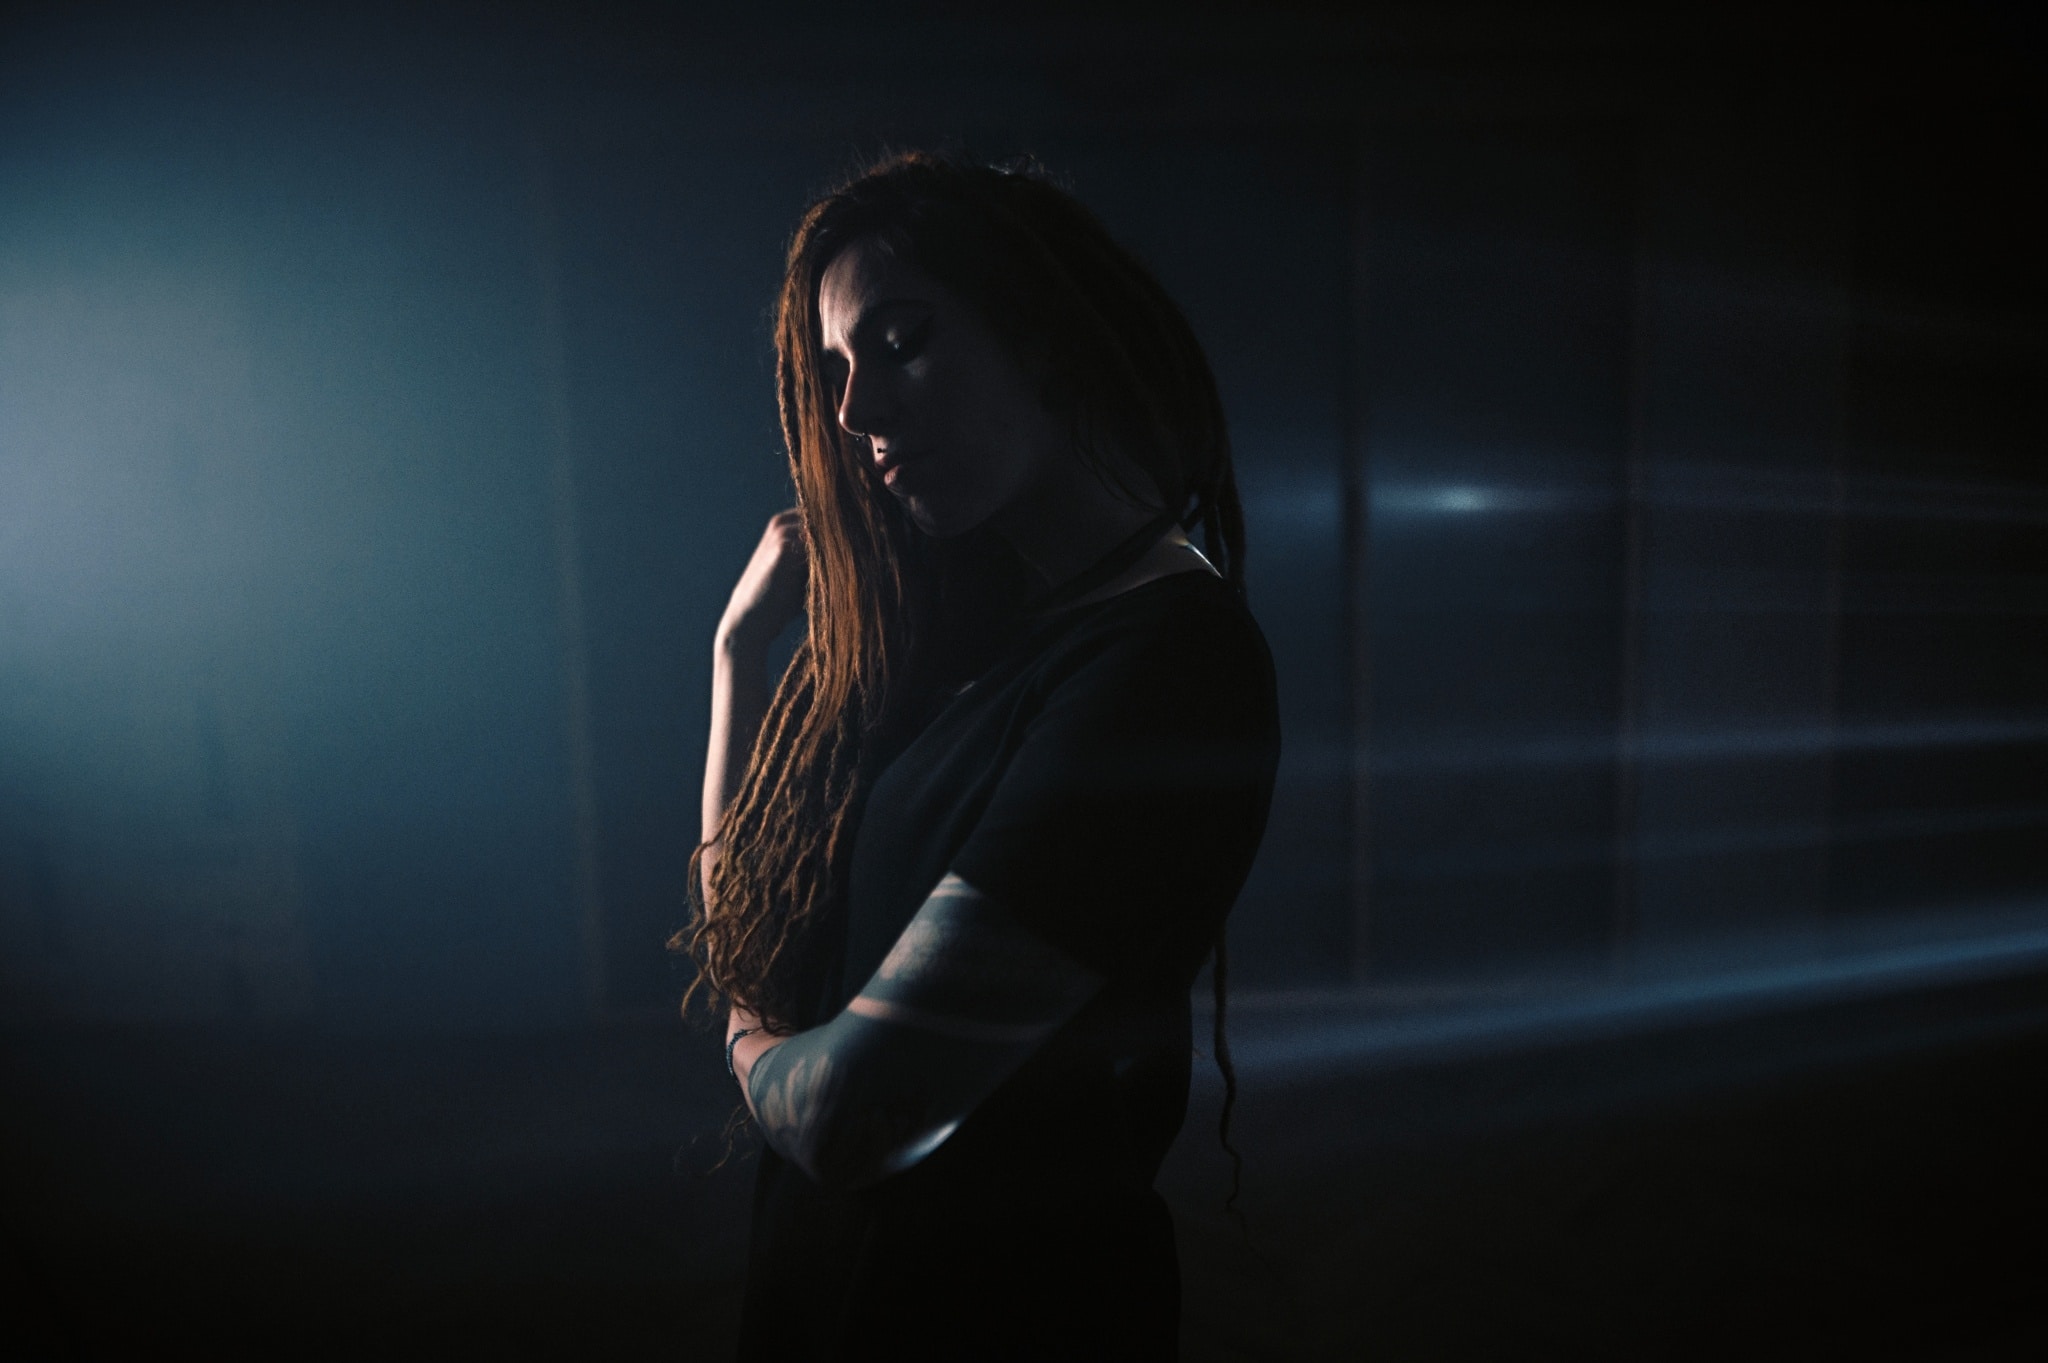
In the other instance, I photographed from a greater altitude. This style the entire cardboard was able to be hidden behind the model. Theoretically, a smaller piece of cardboard would also work in this situation.
Nikon Z6, 50mm f1.iv, 1/125, ISO 640.
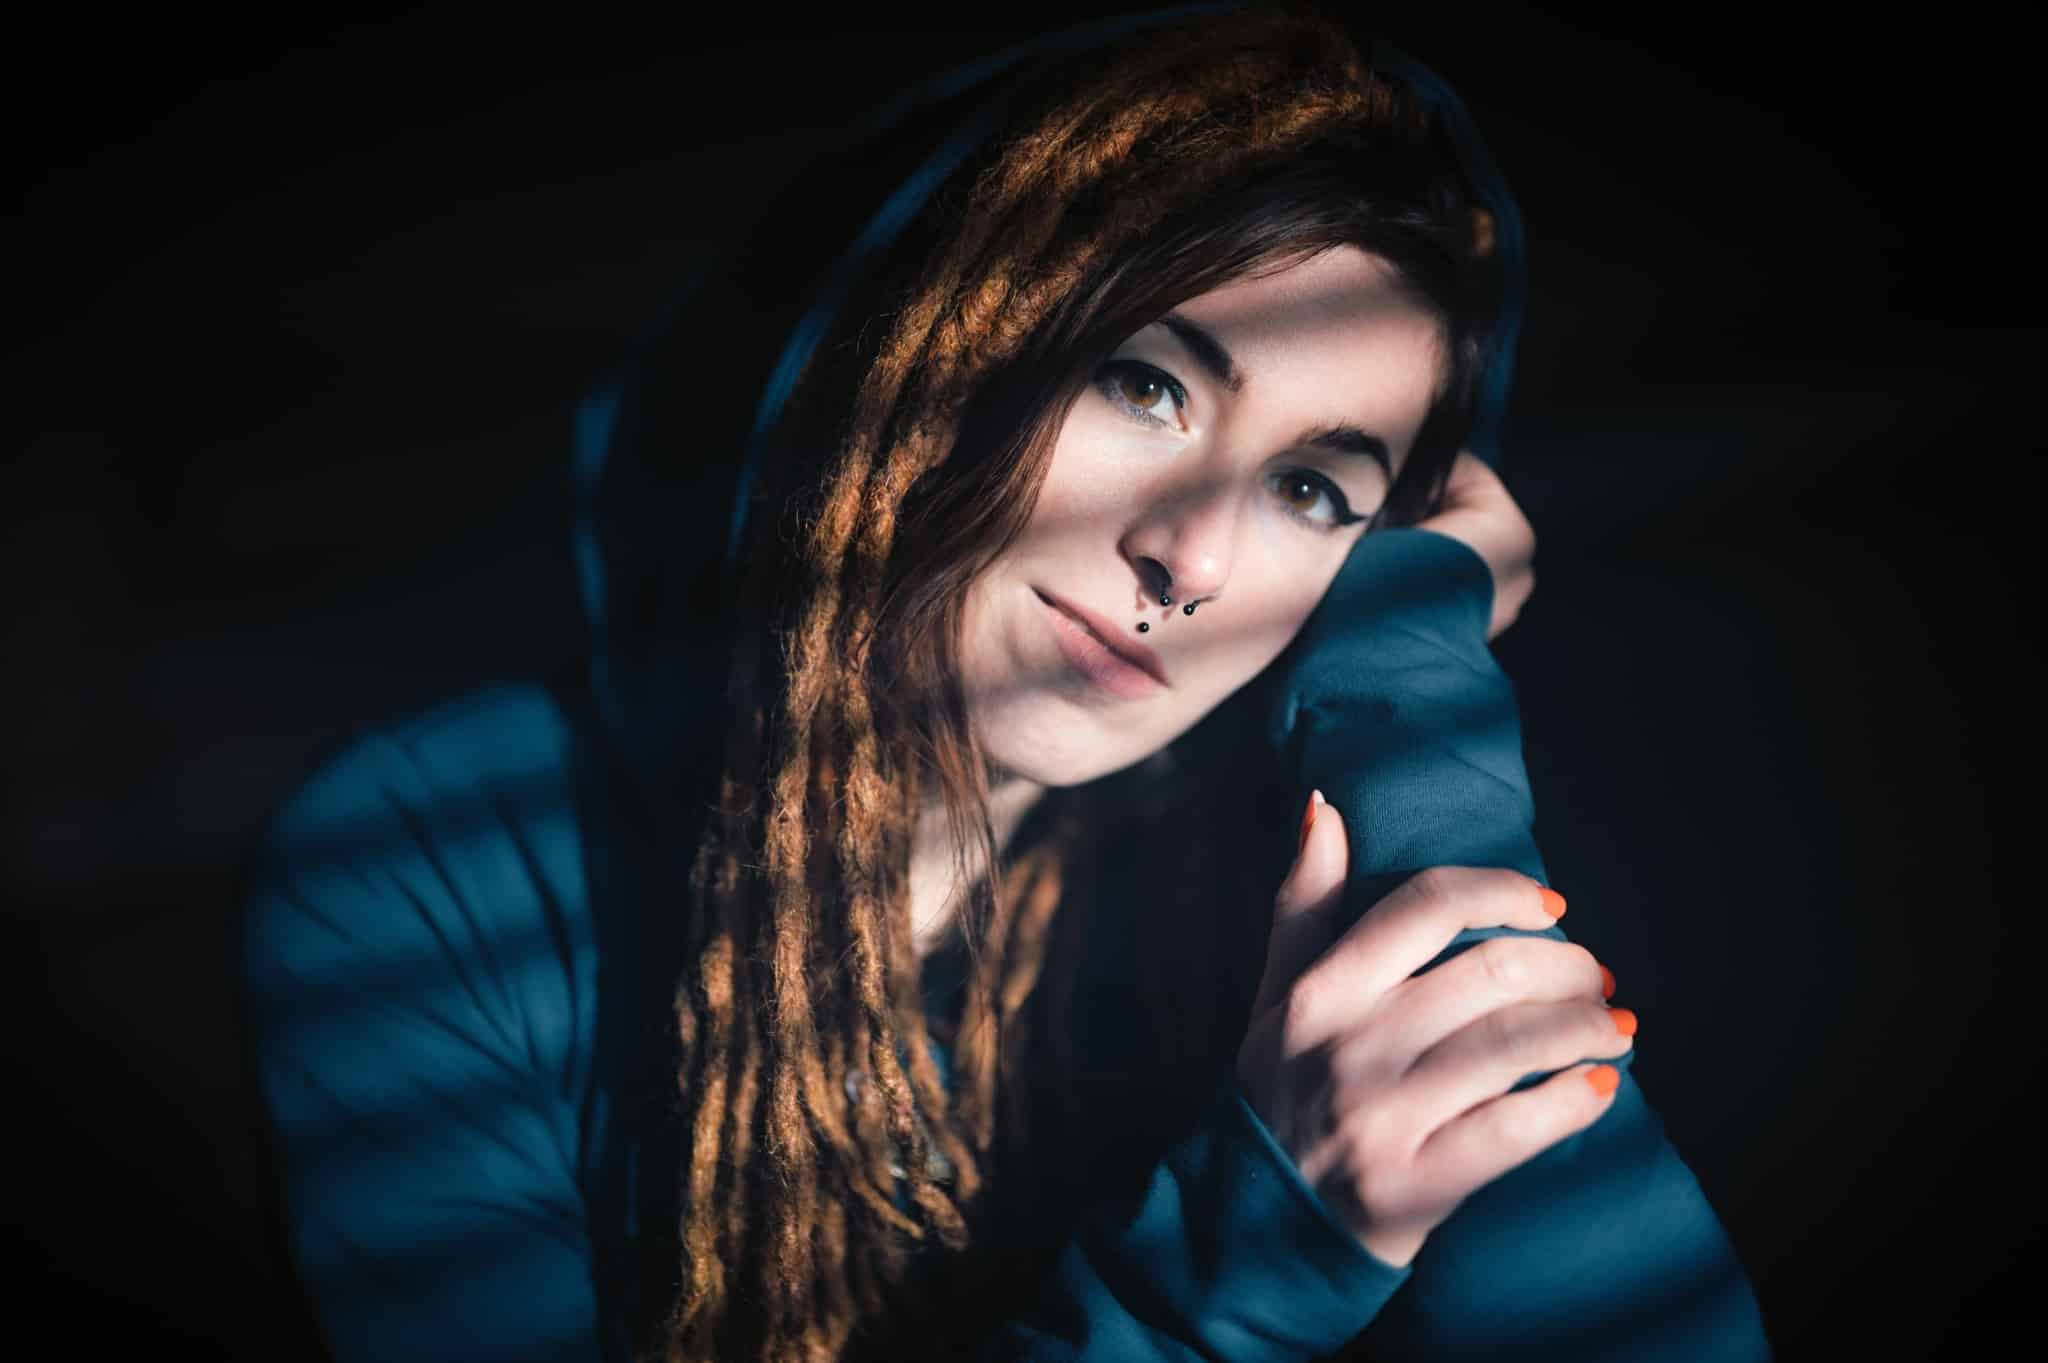
Flashlights form the backlight for a majority of our photos. To light the face from the other side, I used a personal favorite of mine, an LED light stick .
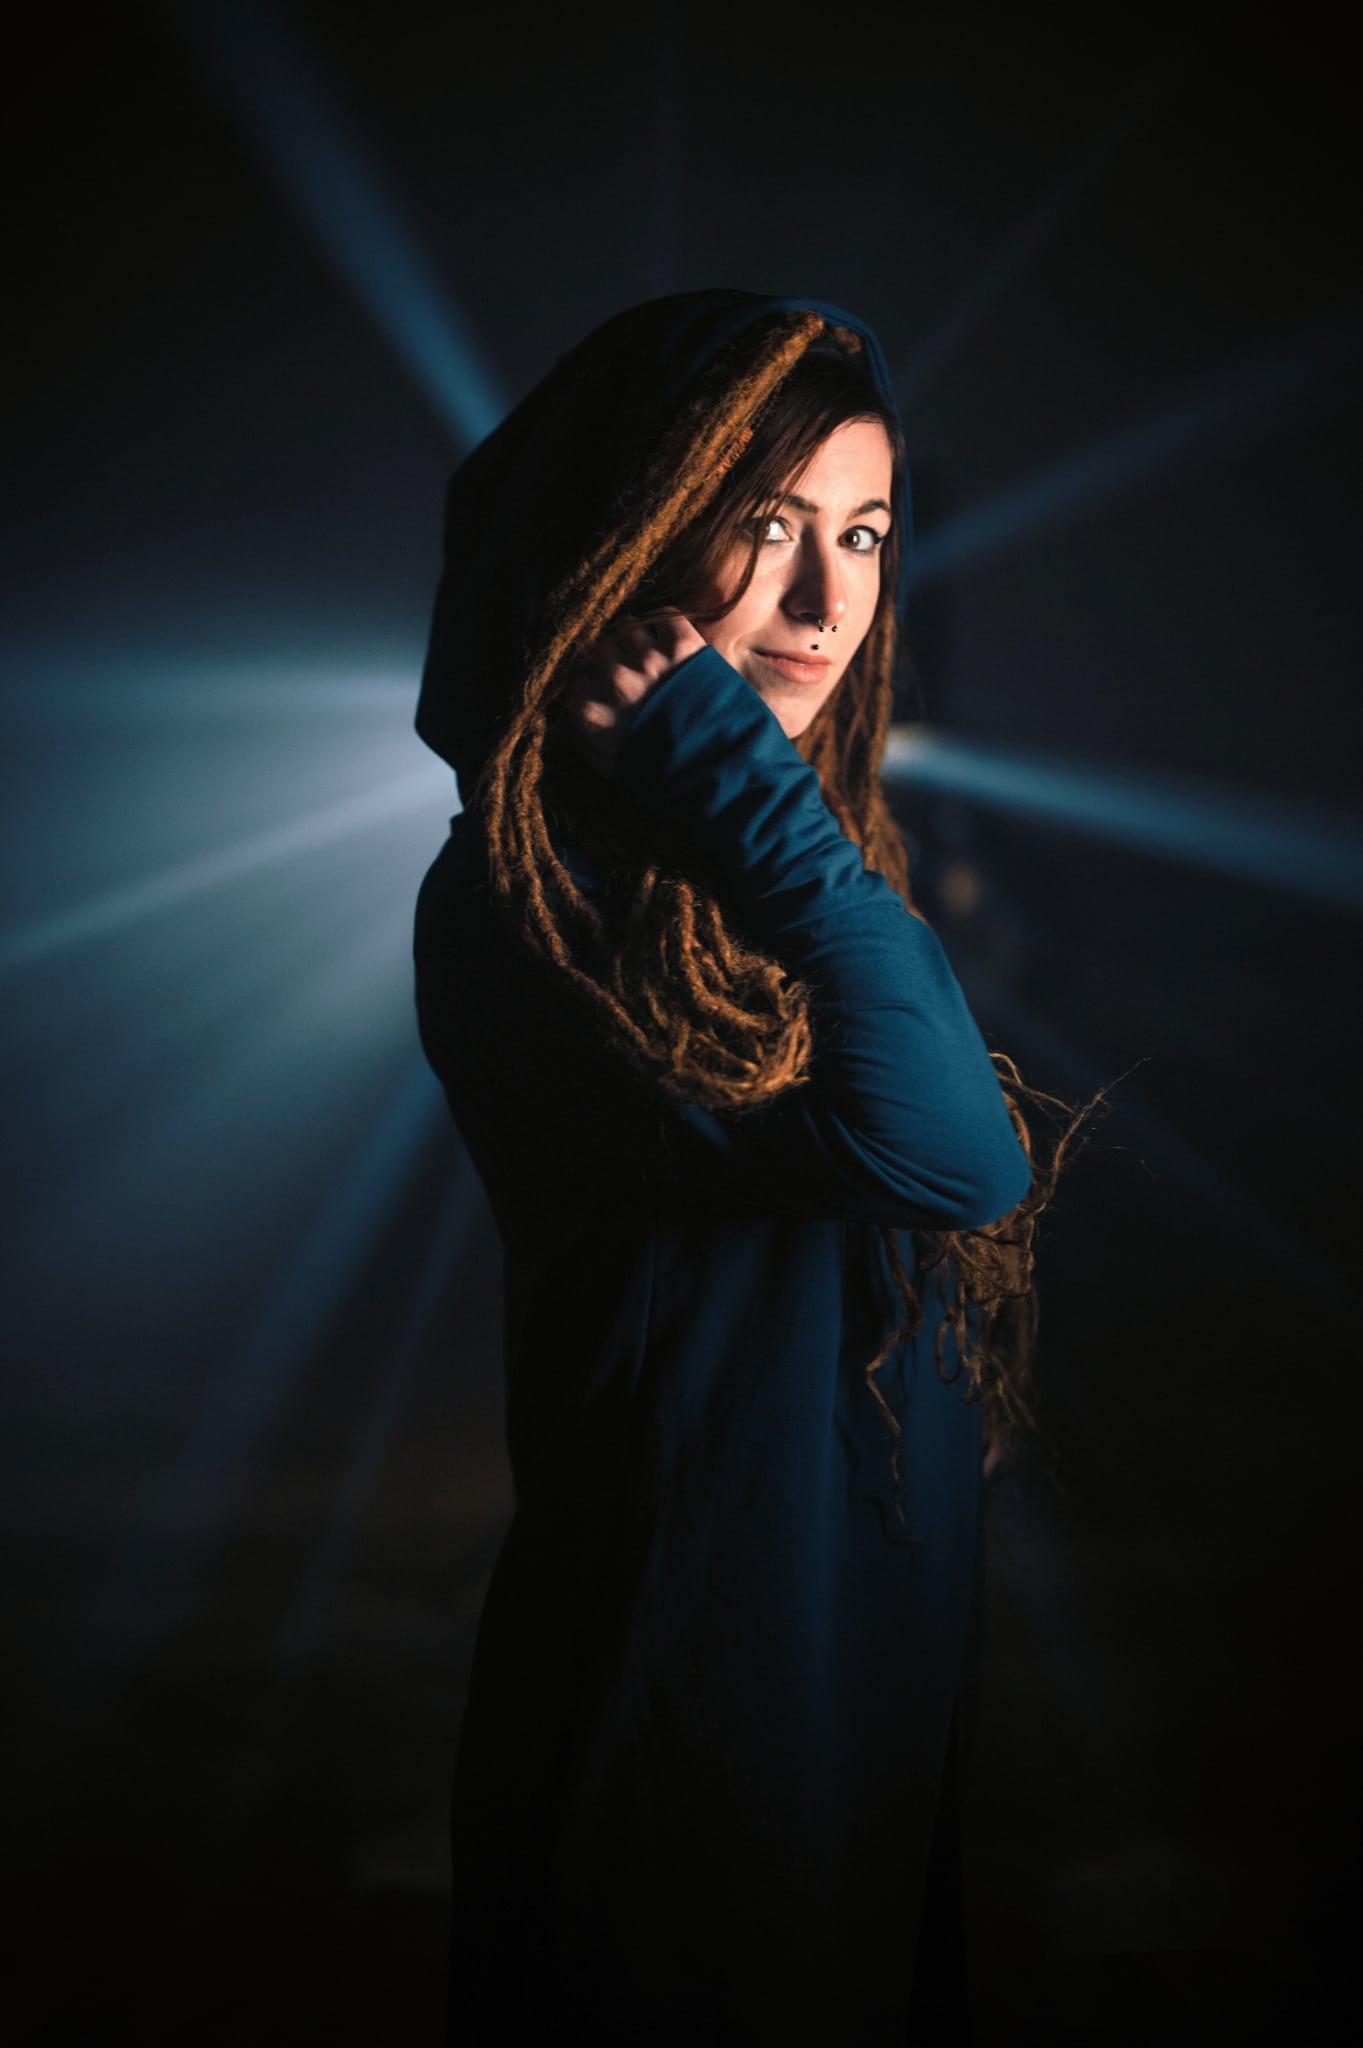
Is a pocket flashlight enough for this blazon of event? More than than plenty!
For this type of photoshoot, a fancy calorie-free is not necessary. Information technology'due south actually undesirable. When I gear up my flashlight at full strength, the light reflected back from the cardboard, then off the wall, and filled the whole room with unsightly reflections, due to the white walls. Darker walls are one solution, but you may not have these at home. And so nosotros gear up the flashlight to half strength.
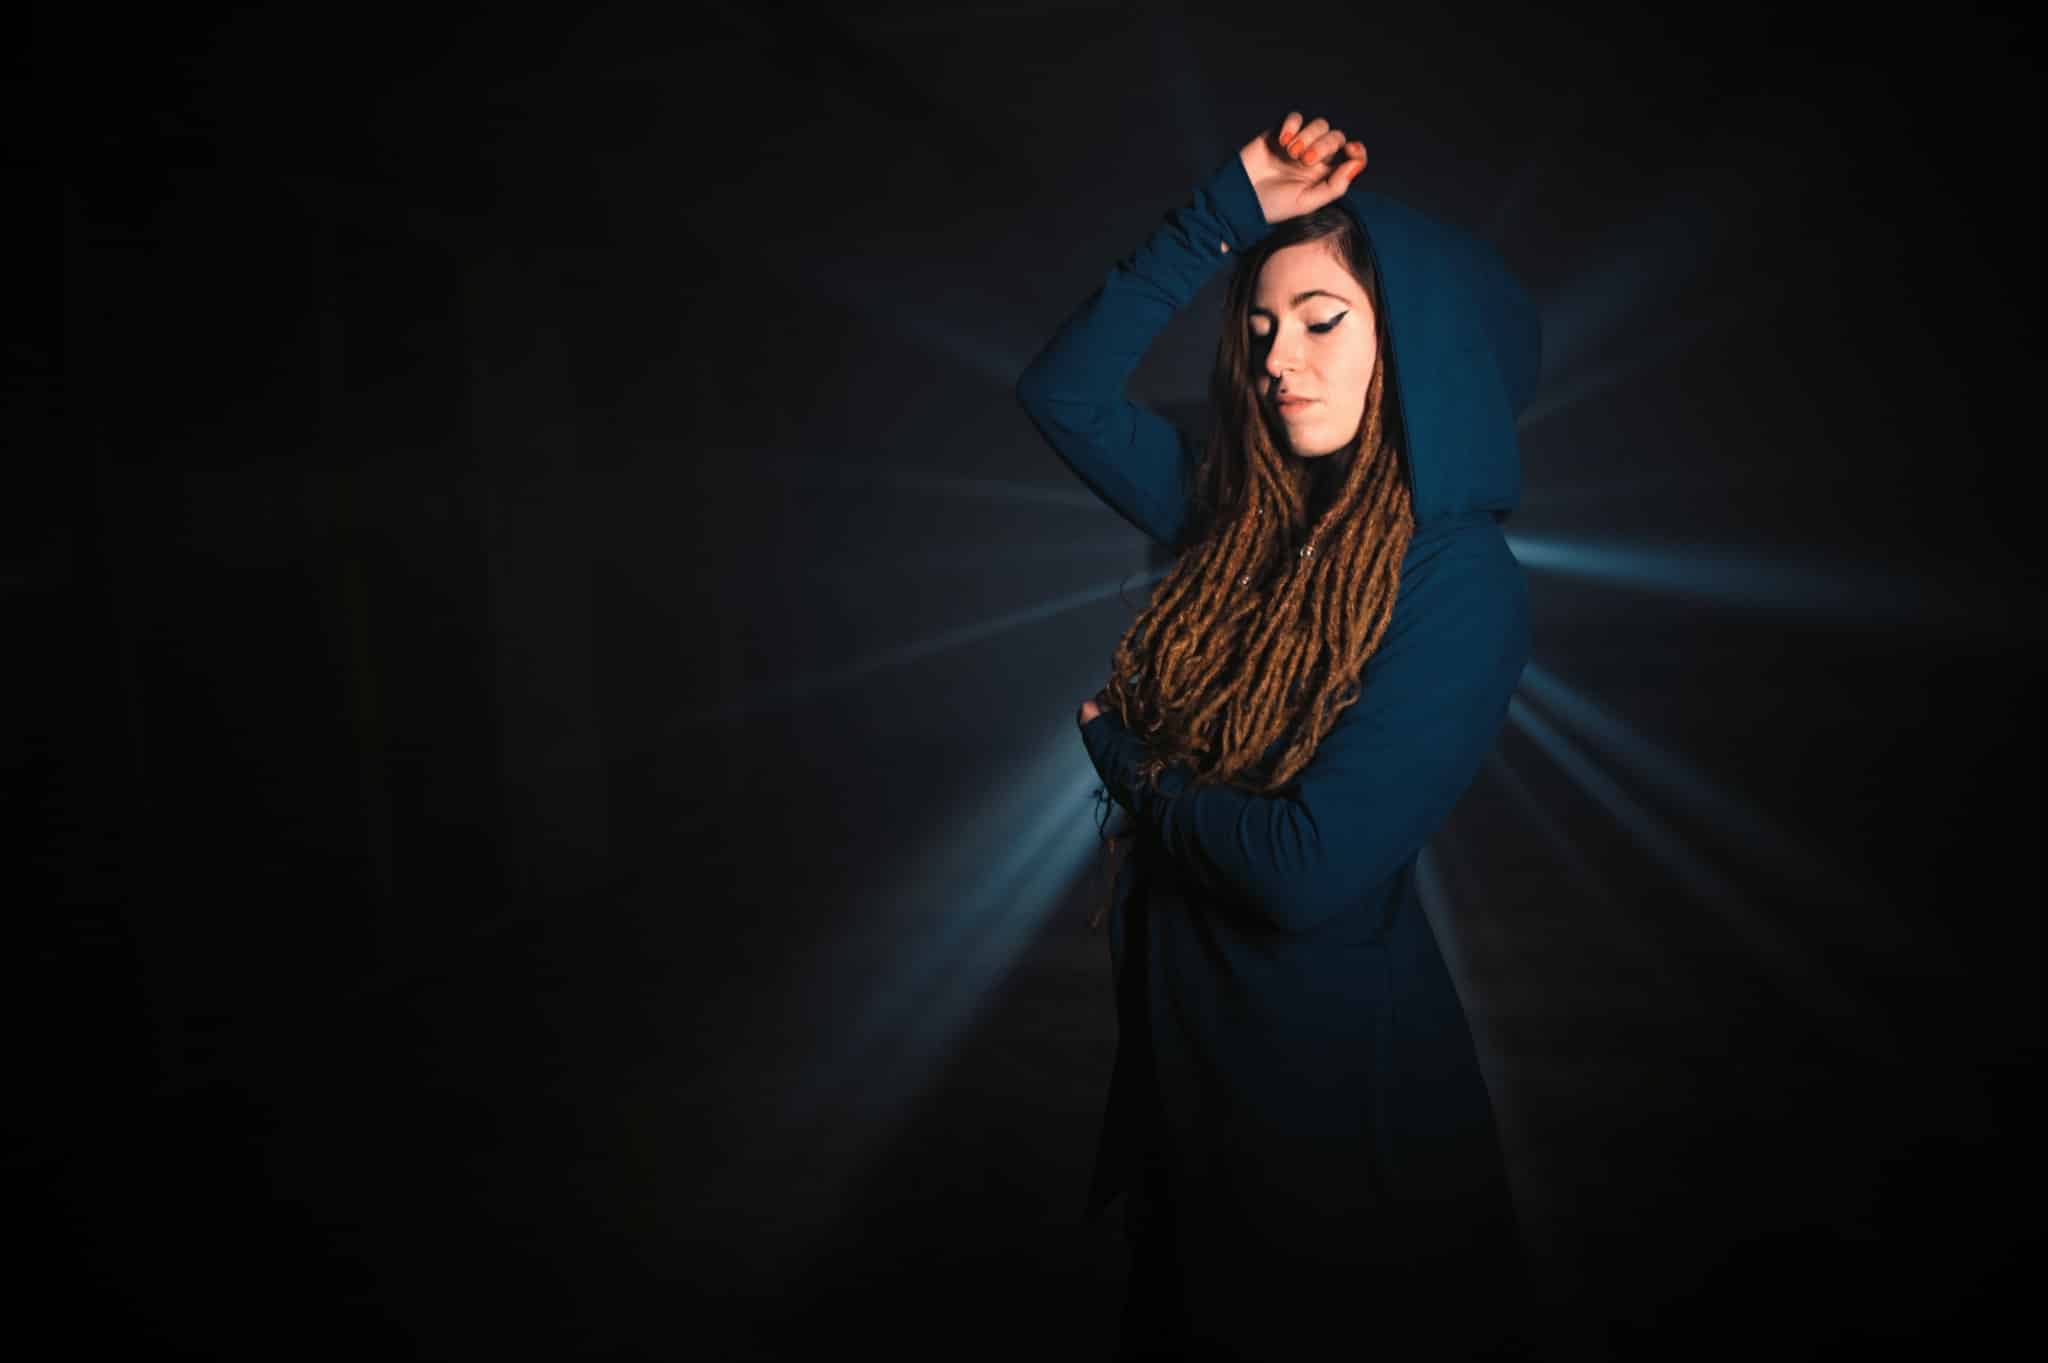
Nikon Z6, 24mm f1.4, 1/250, ISO 1250.
When photographing up close, we encountered a logical trouble with the cardboard. In add-on to the light rays, our "artistic addition" was visible. However, photographing correct next to the cardboard with holes gives you more artistic possibilities. Then in this case, we needed to resort to retouching. Otherwise, the upshot can be solved using darker cardboard with a larger surface area.
In any instance, retouching is not a problem. Information technology can exist done in Zoner Photo Studio Ten in a thing of a few clicks. If you're not sure how to practice it, the article How to retouch away wires, trash, and more in your photos volition assistance.
Sometimes you'll need to wait for post-processing to edit the background.
Nikon Z6, 24mm f1.4, 1/125, ISO 1250.
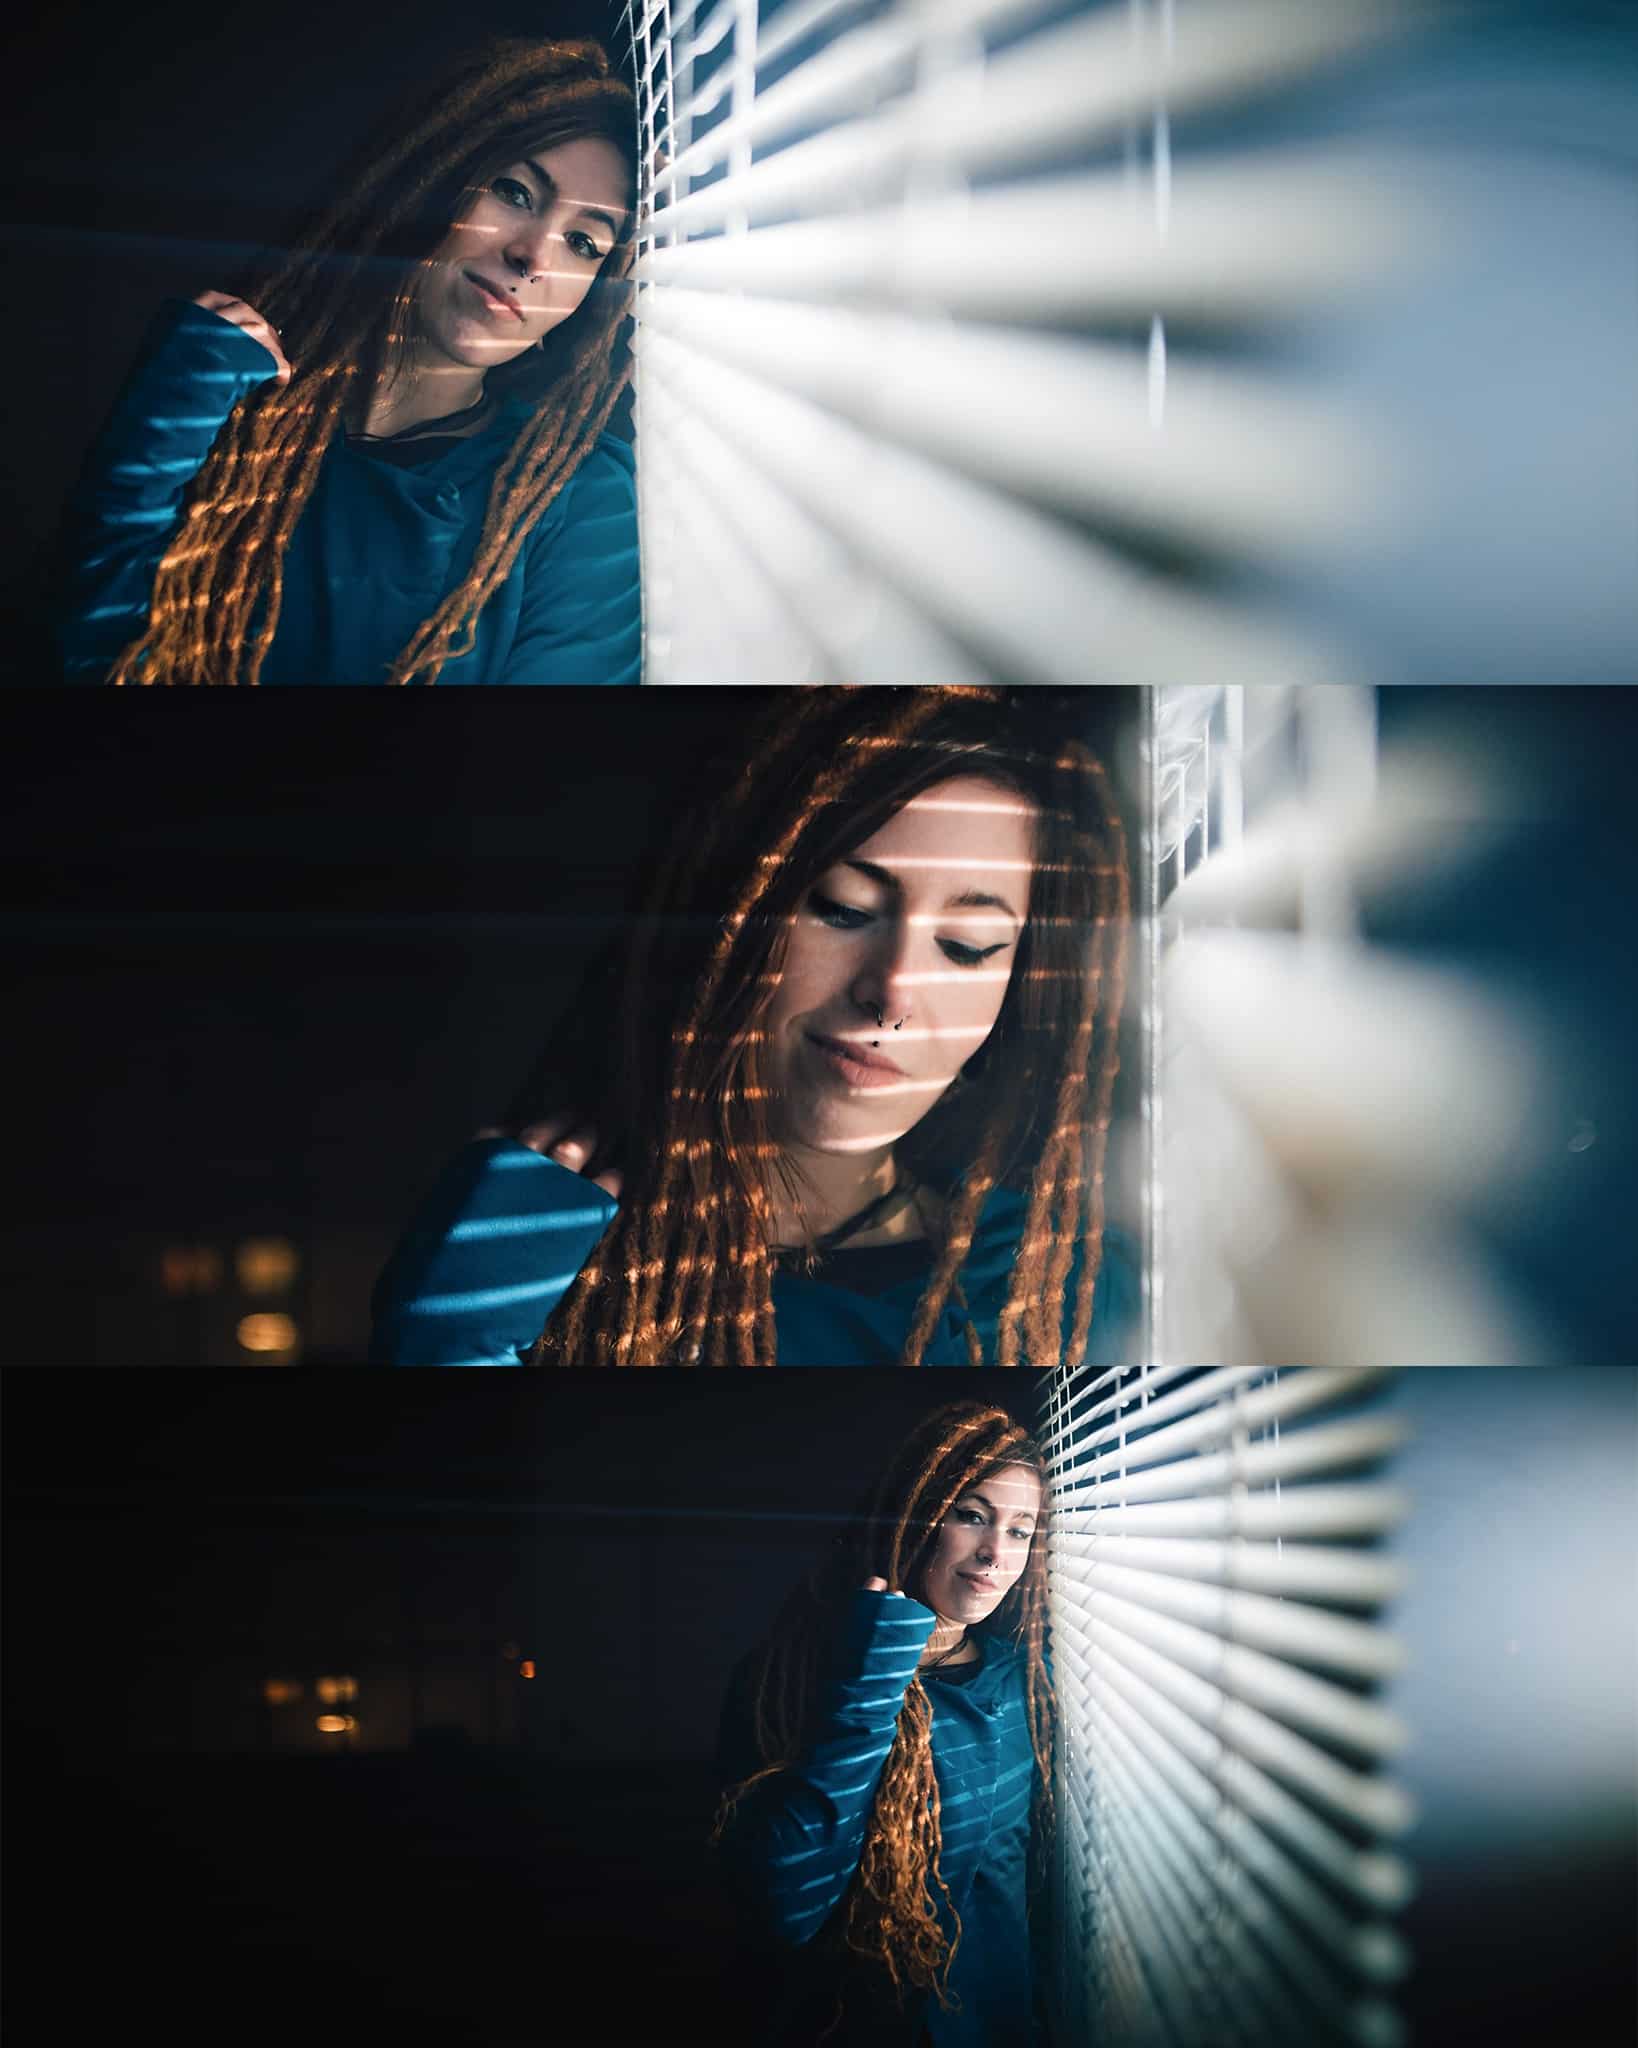
Window blind shadows – you don't demand to expect for the lord's day
The second one-half of our photoshoot was defended to window blinds. It is a normally-used effect. Window blinds cast stripes on your subject. If you have window blinds and the sun is shining through them, yous can get some interesting effects.
However, if you don't desire to rely on outdoor low-cal and you lot don't live on the ground floor, where you can smoothen a calorie-free through the window from the outside, in that location's some other option – just like we did with the paper-thin, mount the blinds to a stand.
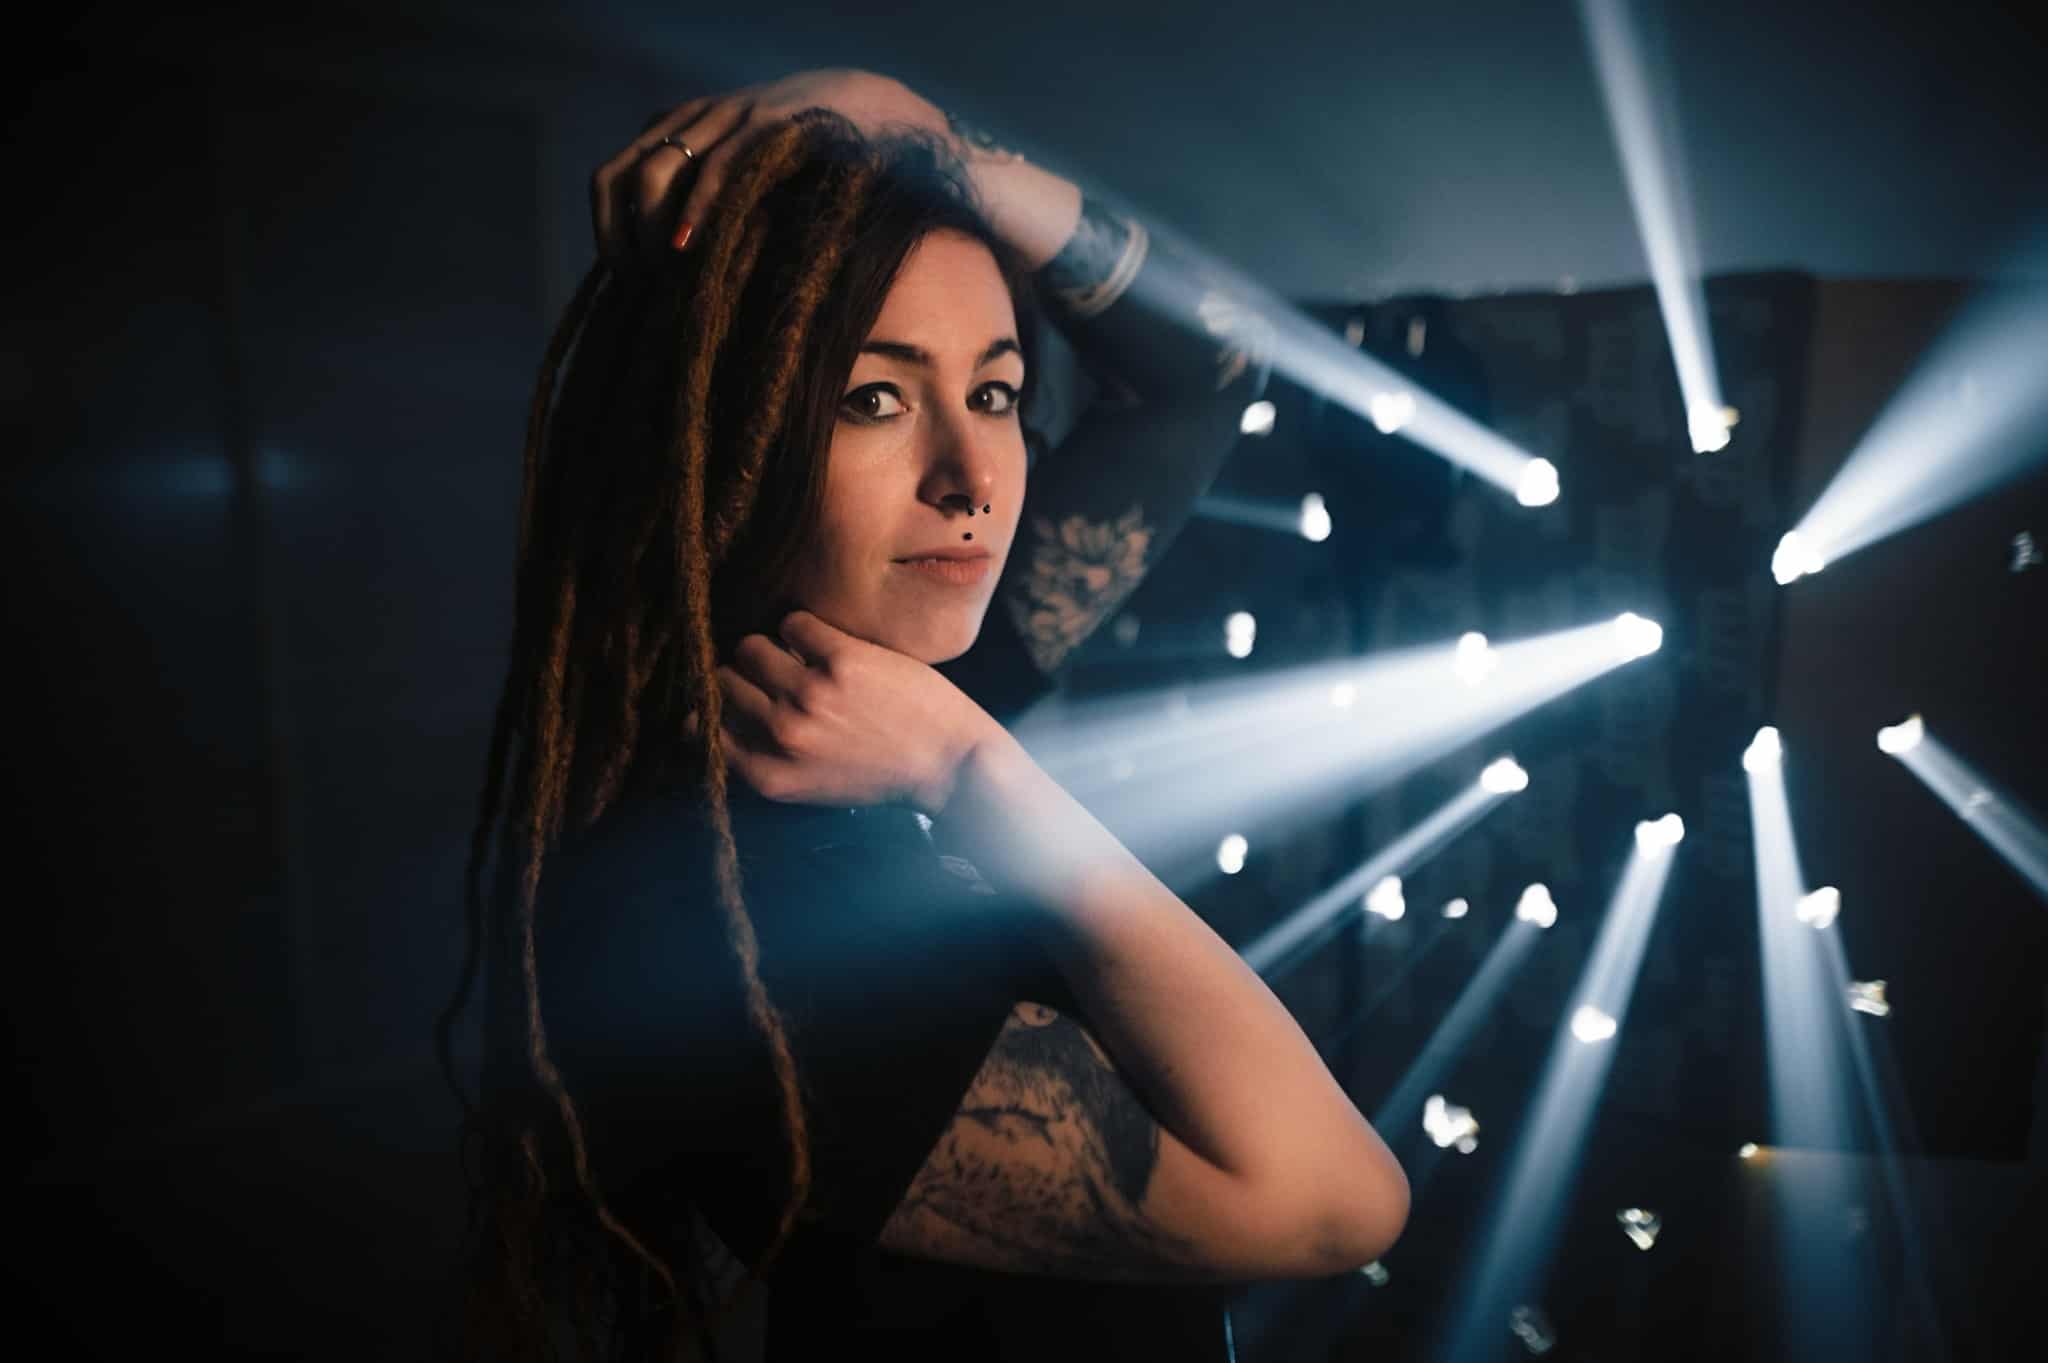
In this manner, you'll become even stripes of shadows. Here, for a modify, we shone the light through the blinds and so the flashlight also formed the central light.
Nikon Z6, 50mm f1.4, ane/250, ISO 1250.
When shooting from the side, further from the blinds, the atmosphere is darker and the face is divided into two halves.
Nikon Z6, 50mm f1.4, 1/250, ISO 1250.
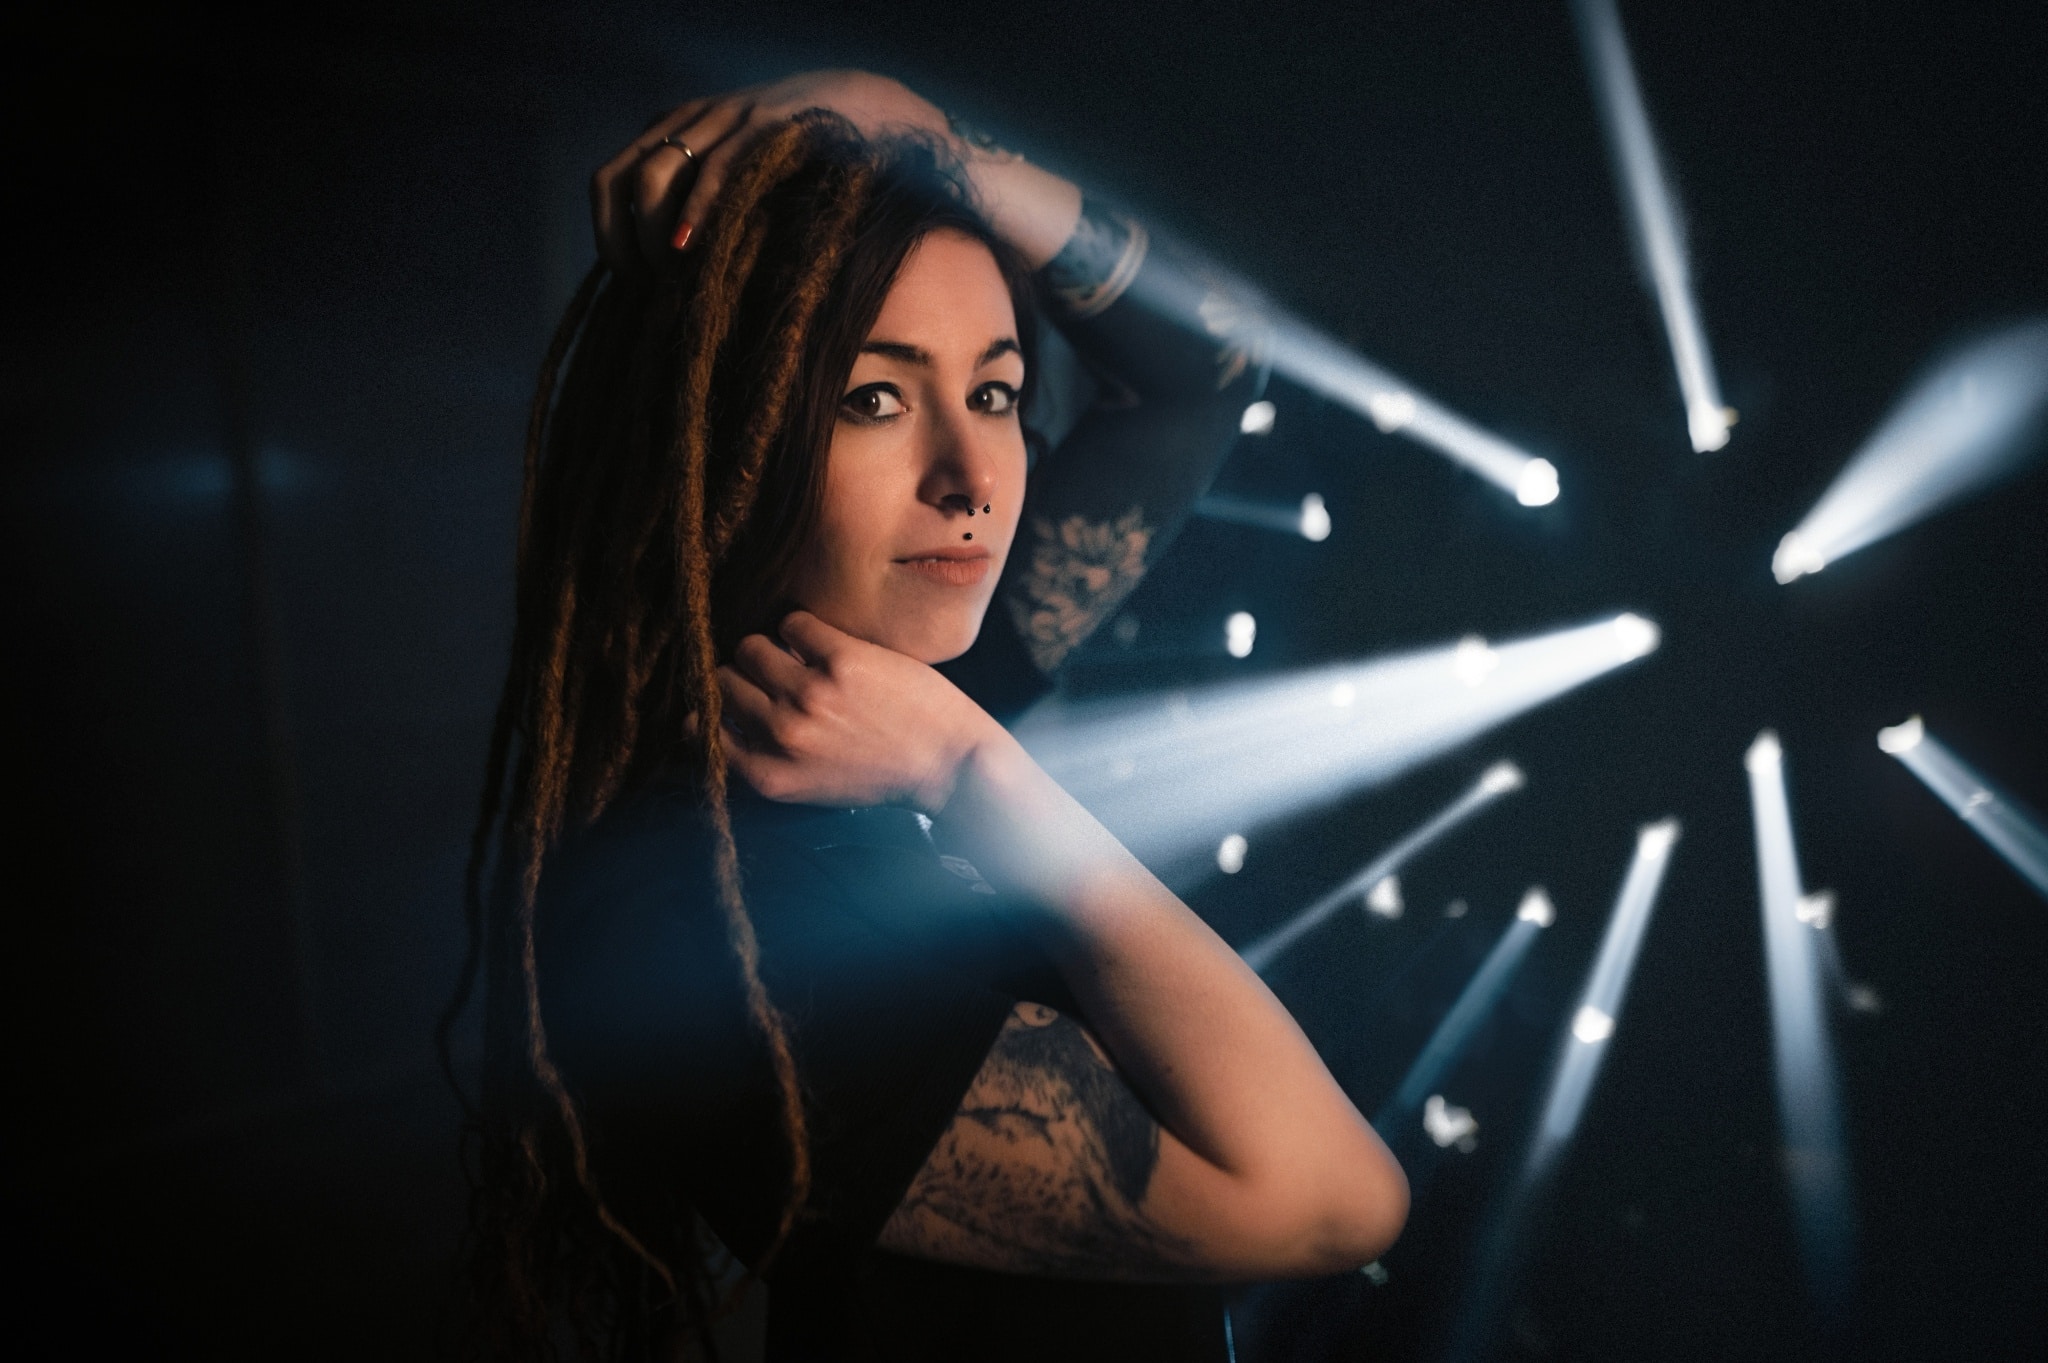
There is also the selection to photograph in line with the window blinds, or, at a right angle to the management of low-cal. I deliberately photographed at the level of the bullheaded slats even with the eyes, because this composition works and draws the viewer's optics right where I desire them.
Window blinds tin make backlit silhouettes as well
Striped shadows cast on the face up aren't the just affair you lot can create using window blinds. But similar in the offset part, nosotros also photographed directly into the light.
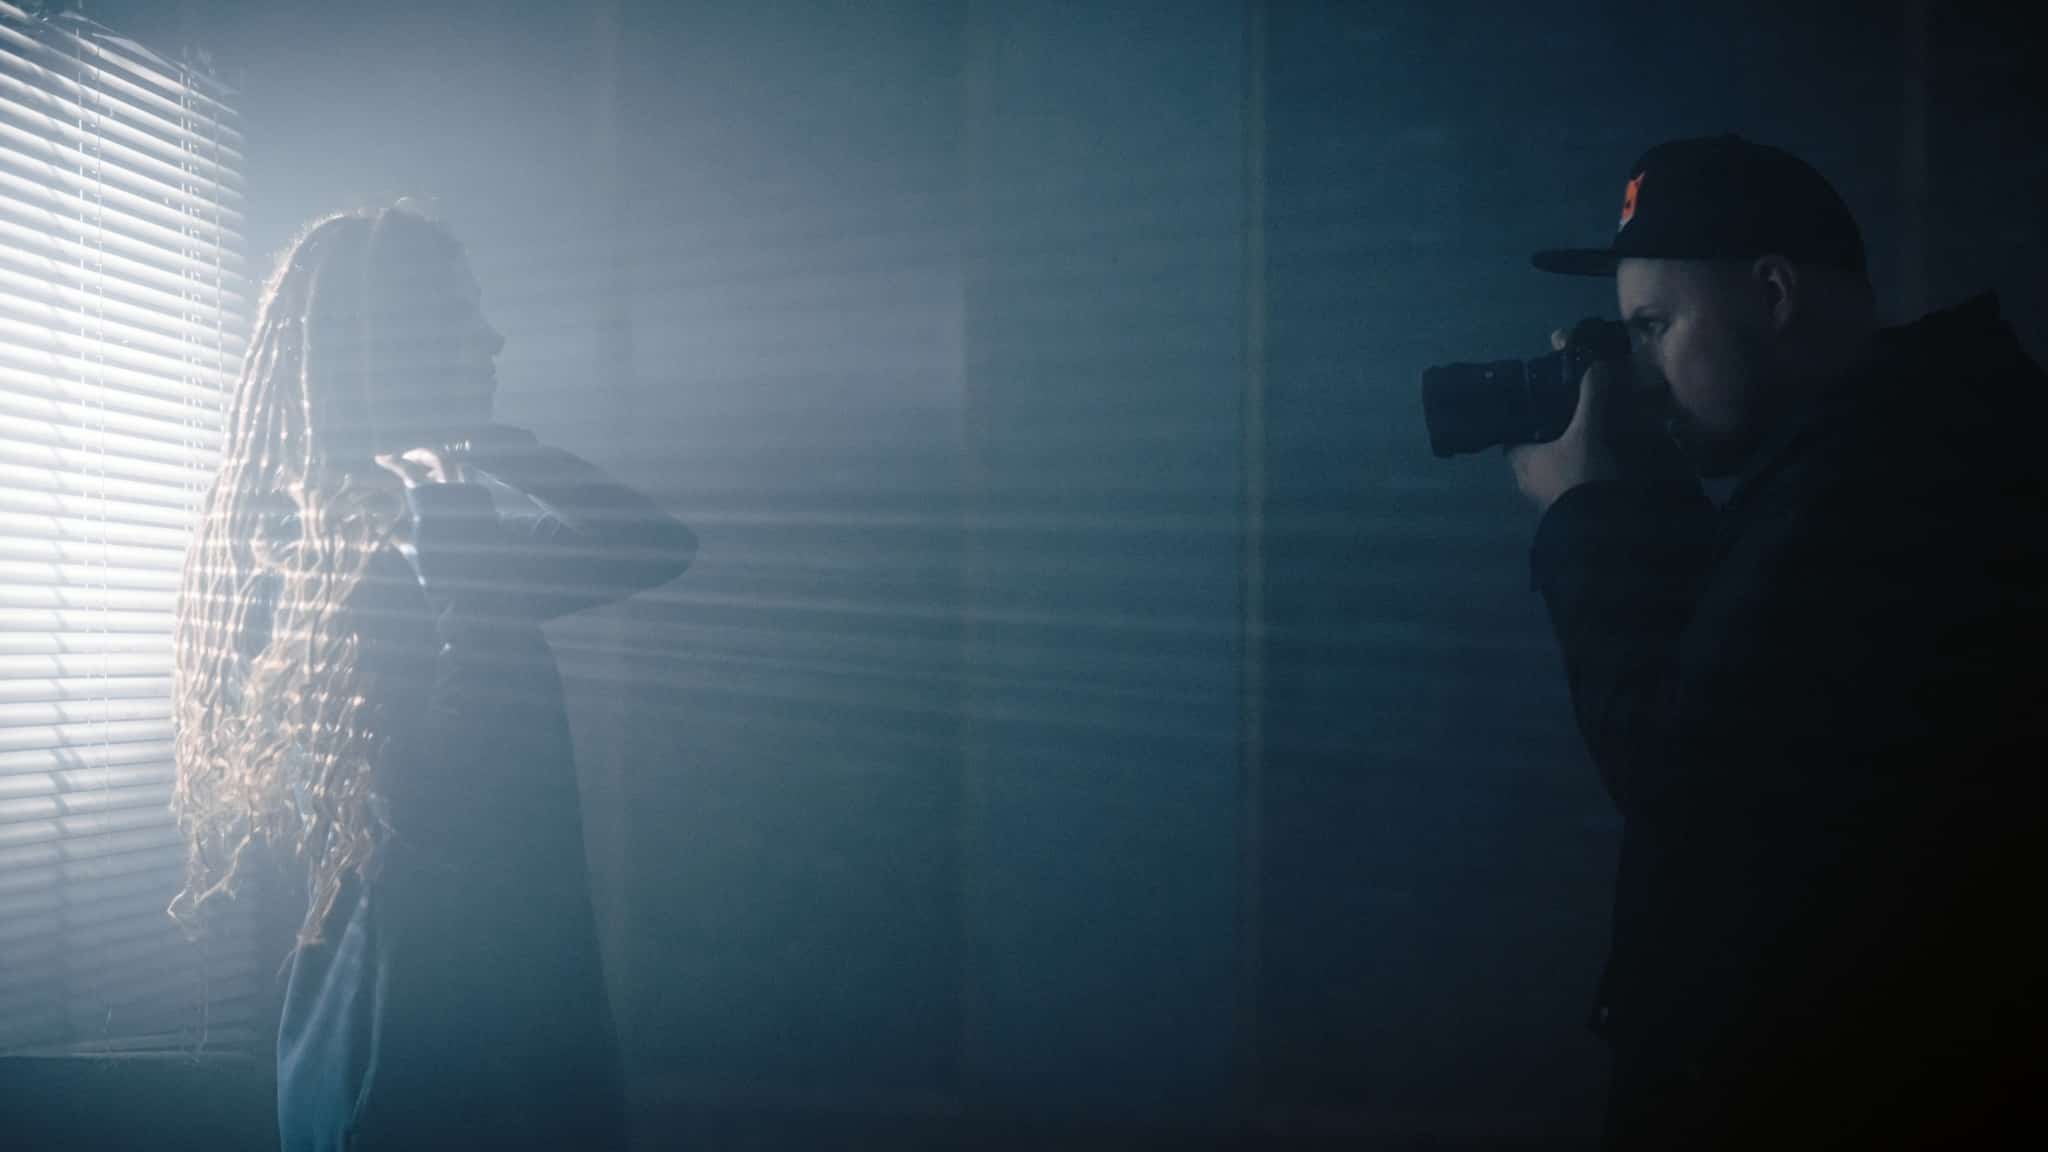
Because window blinds aren't every bit unsightly equally a cardboard box with holes in it, it's not necessary to hide or adjust the groundwork. In switching off the 2nd light, an intriguing silhouette is formed.
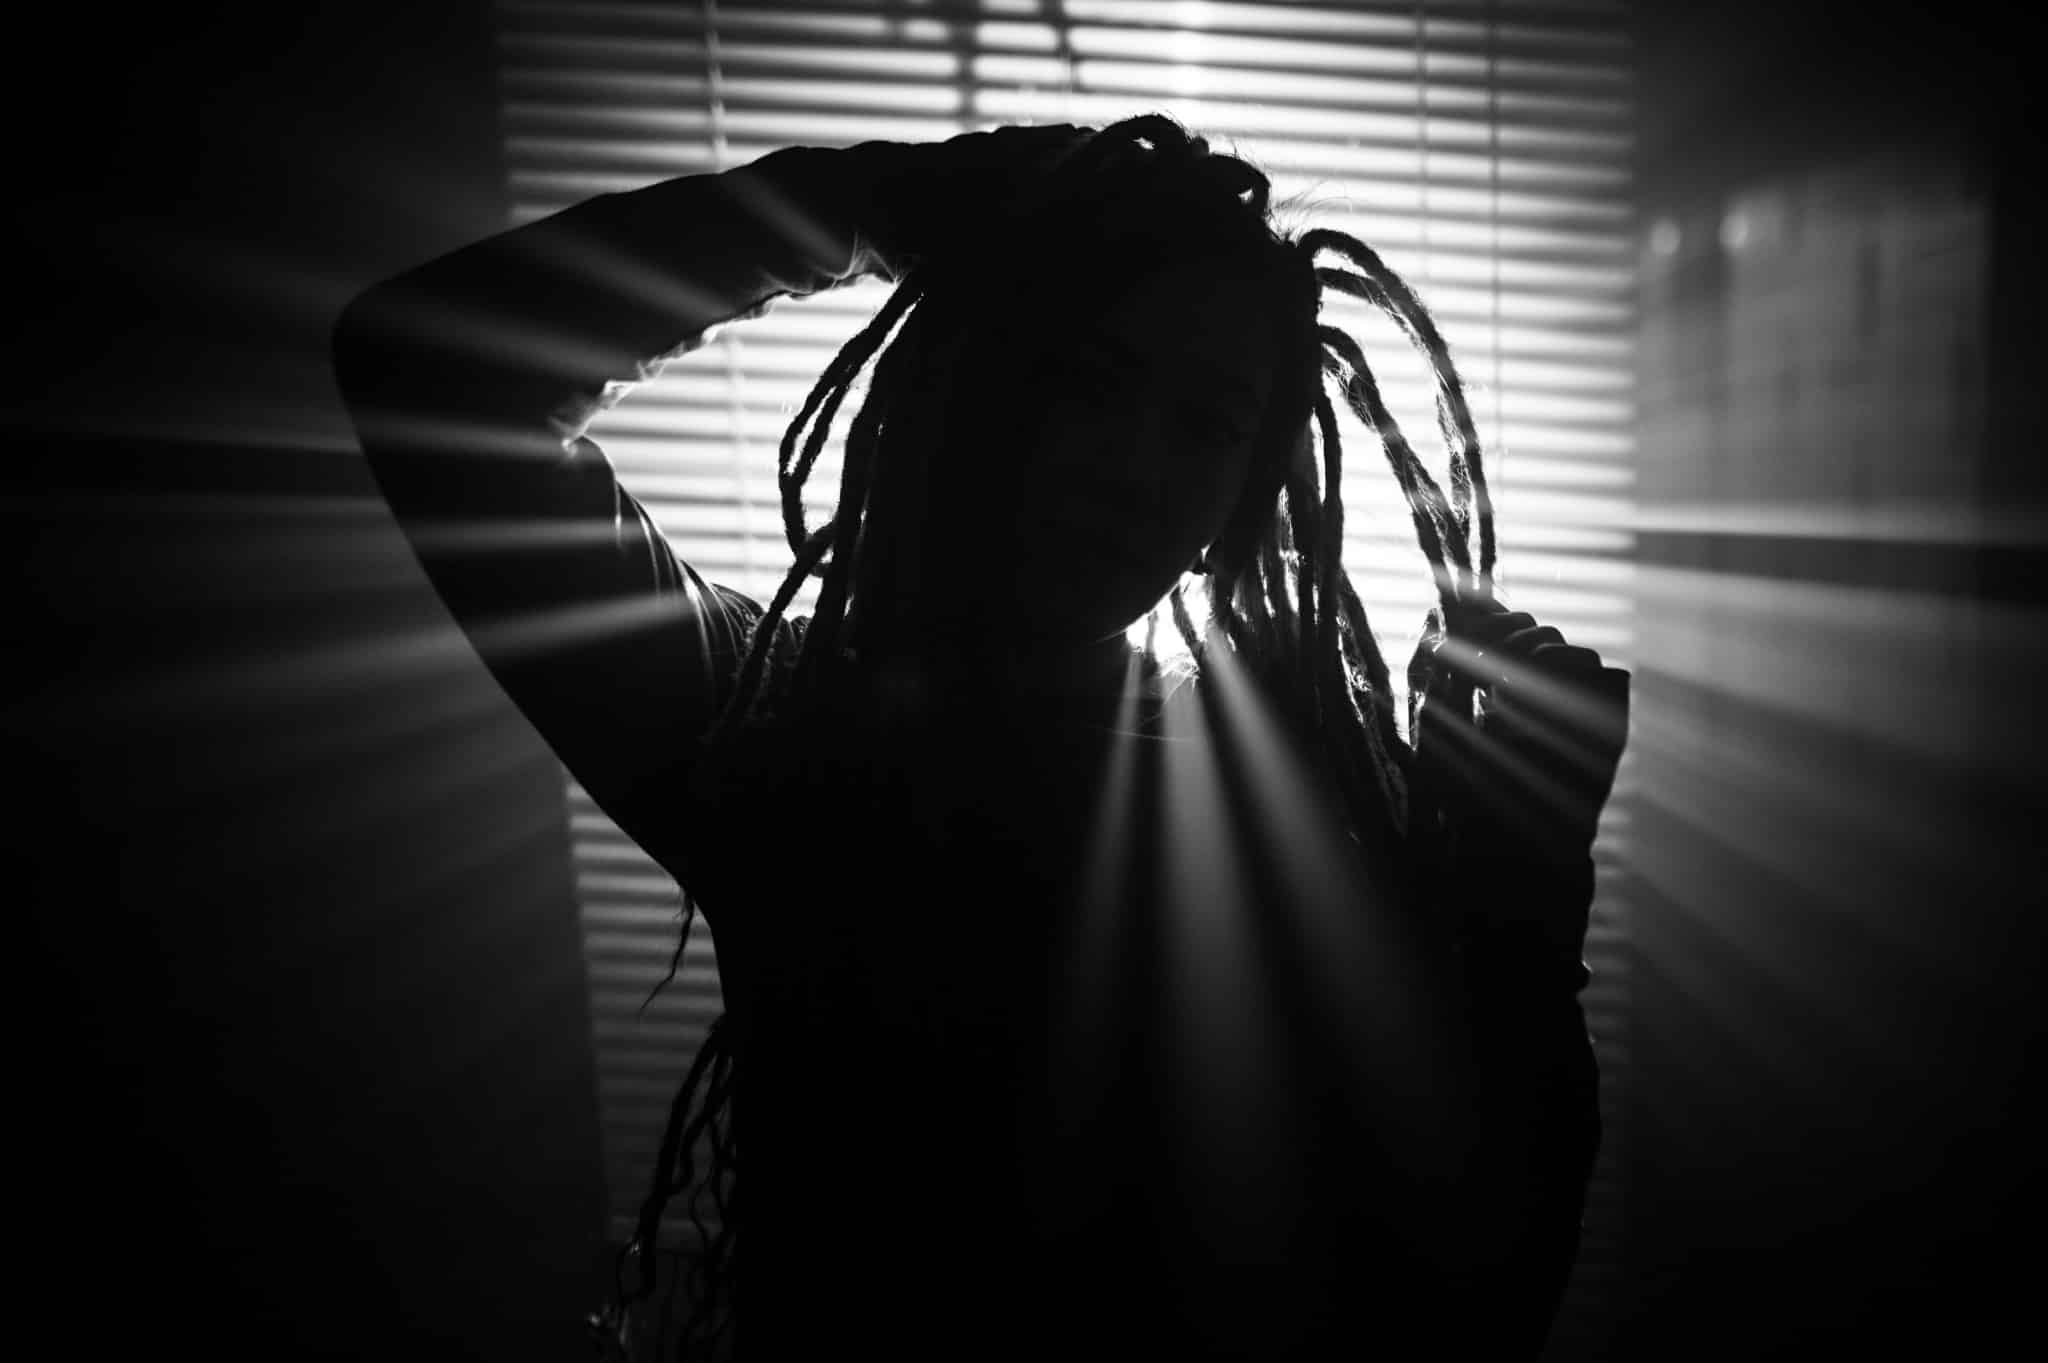
Nikon Z6, 24mm f1.4, 1/160, ISO 400.
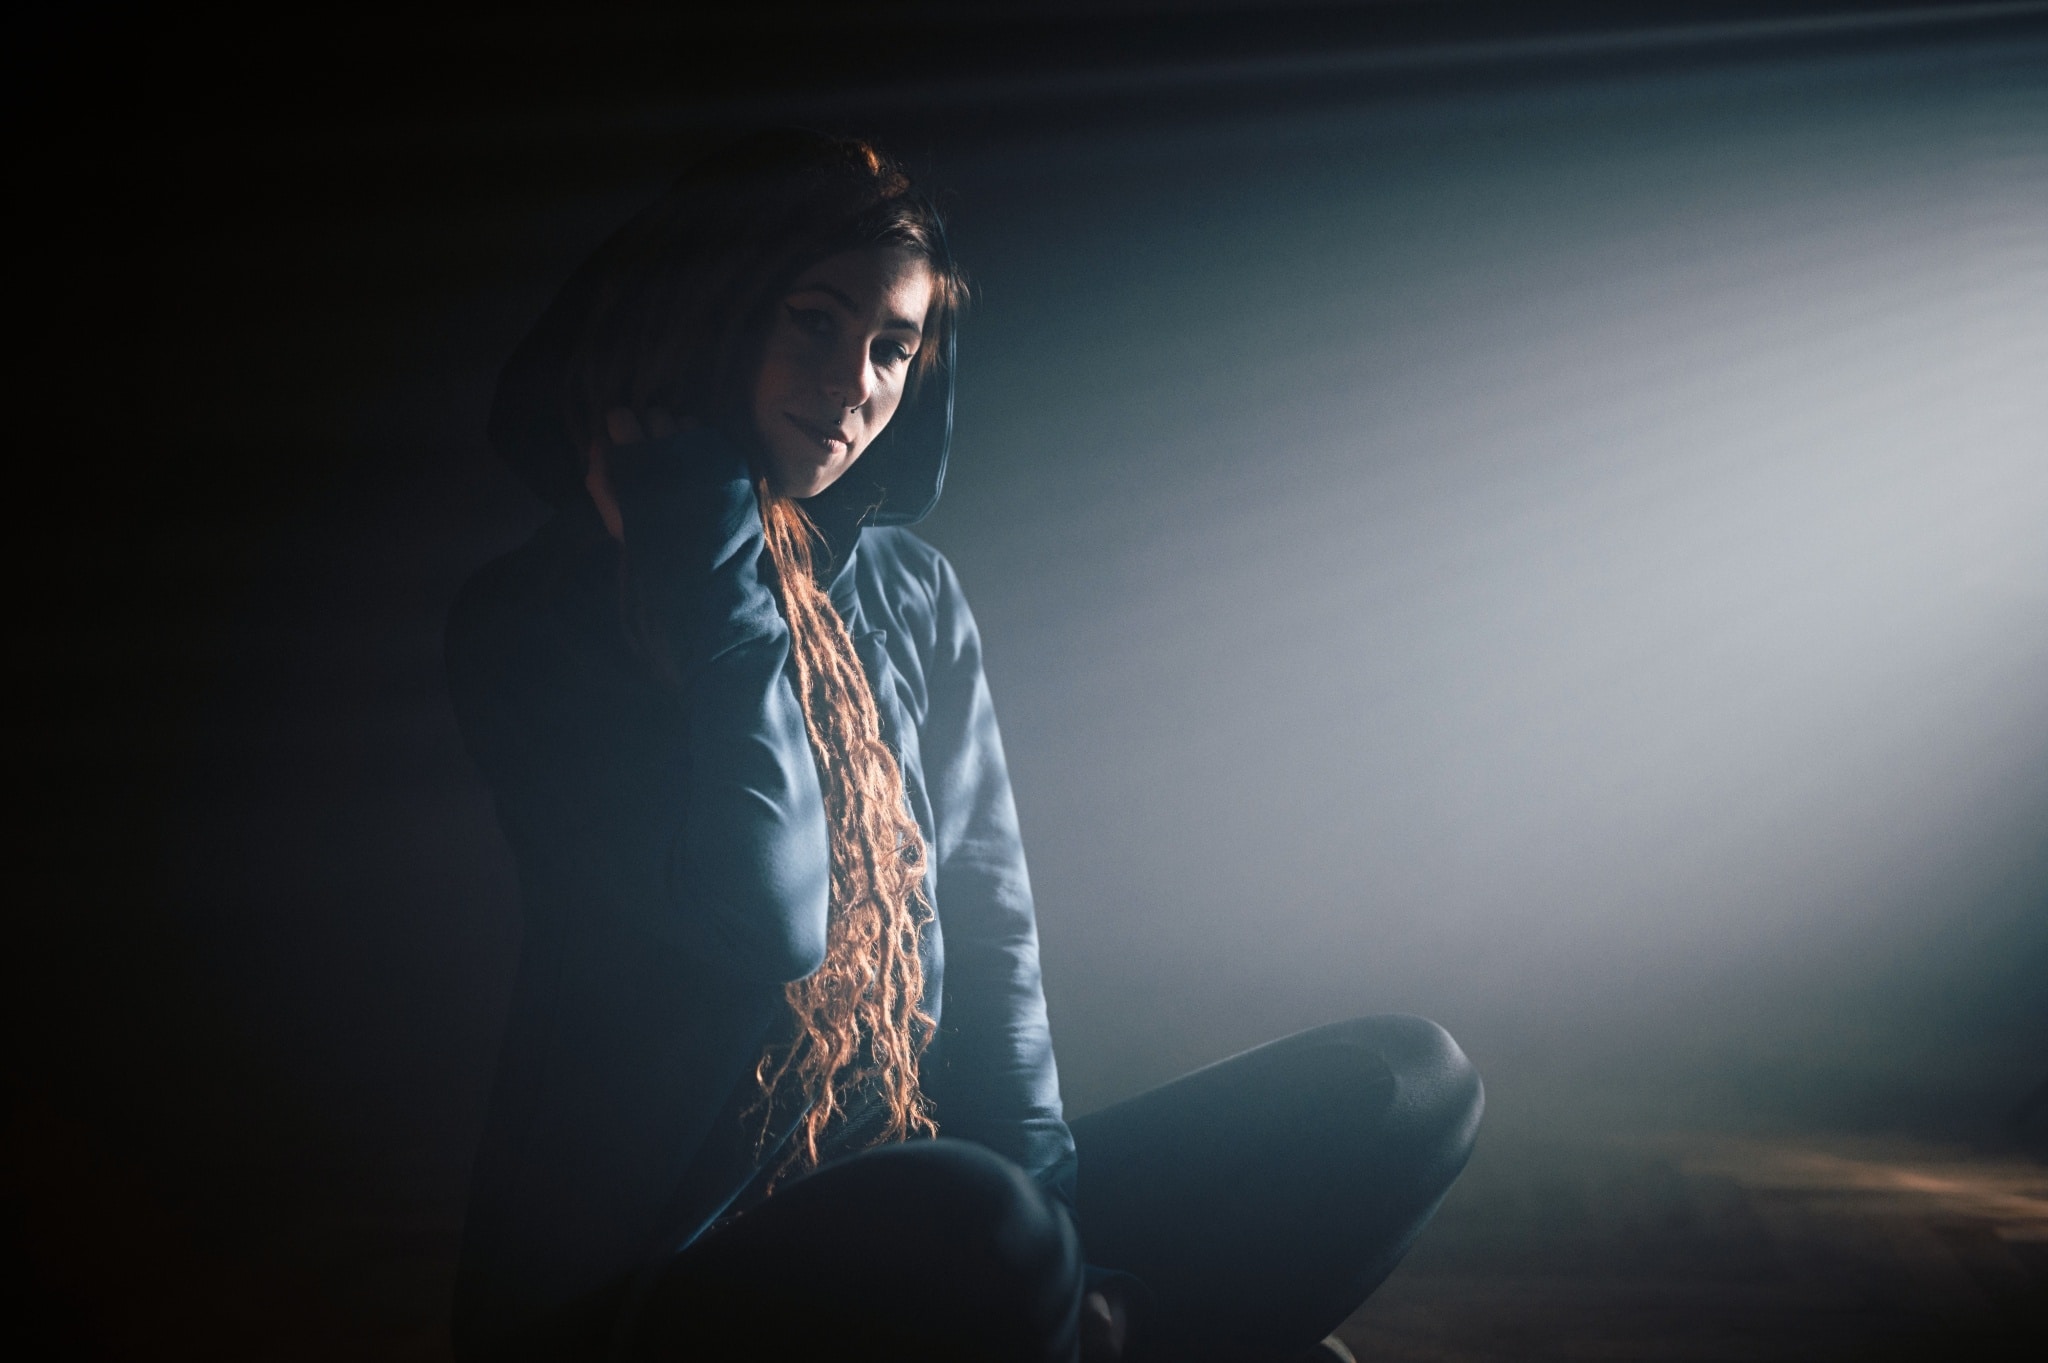
Stagelike lighting? Again a small flashlight volition do
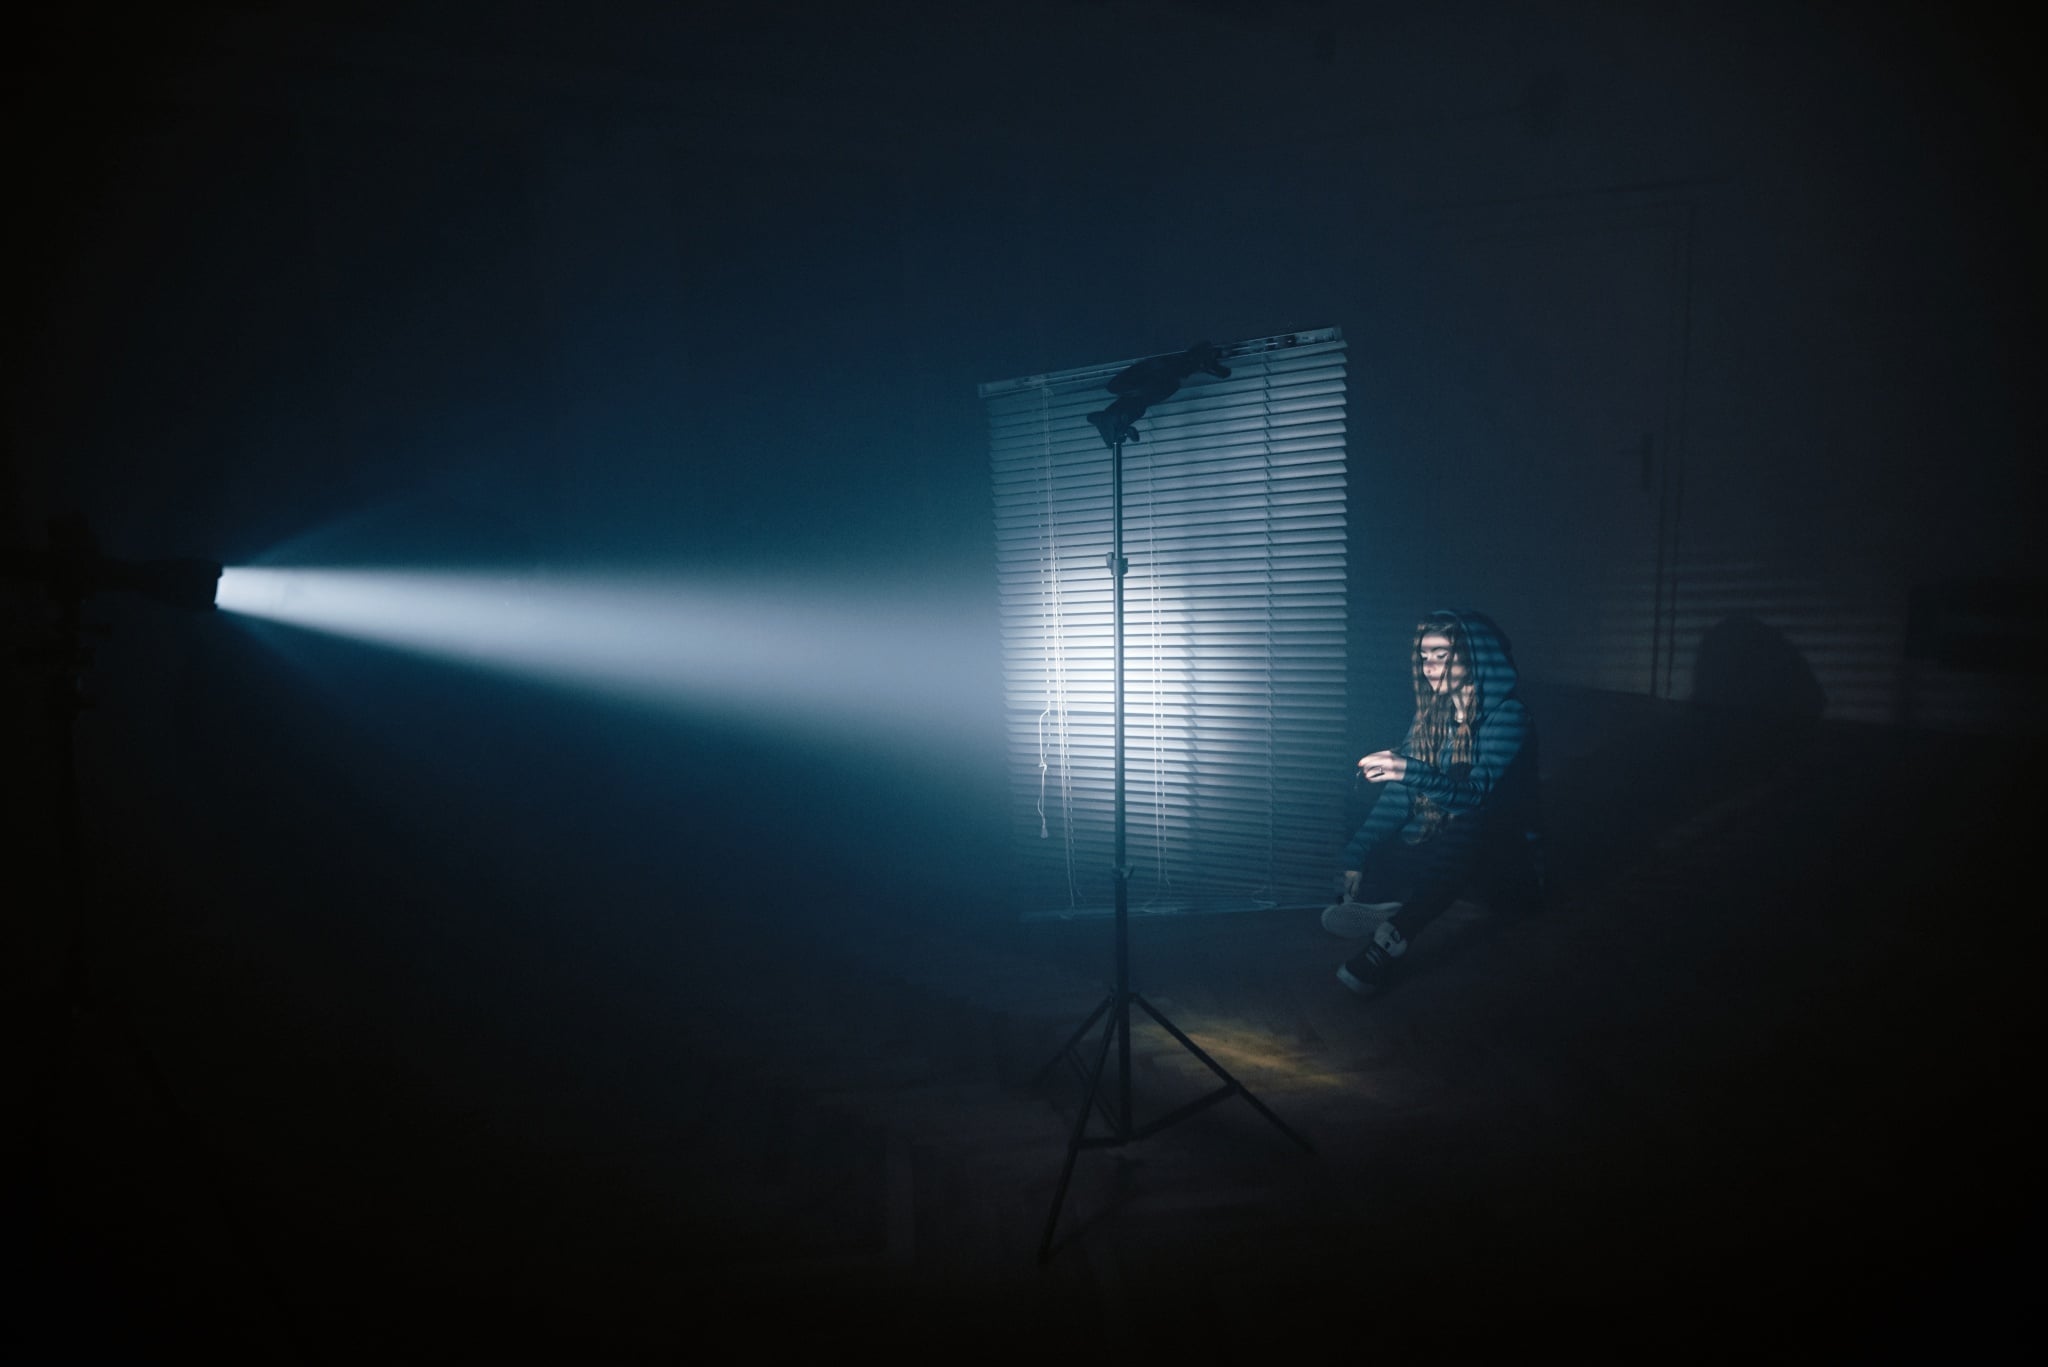
The last and easiest lighting experiment was to create a simple beam of light. This ways we didn't polish through any object, but rather directly.
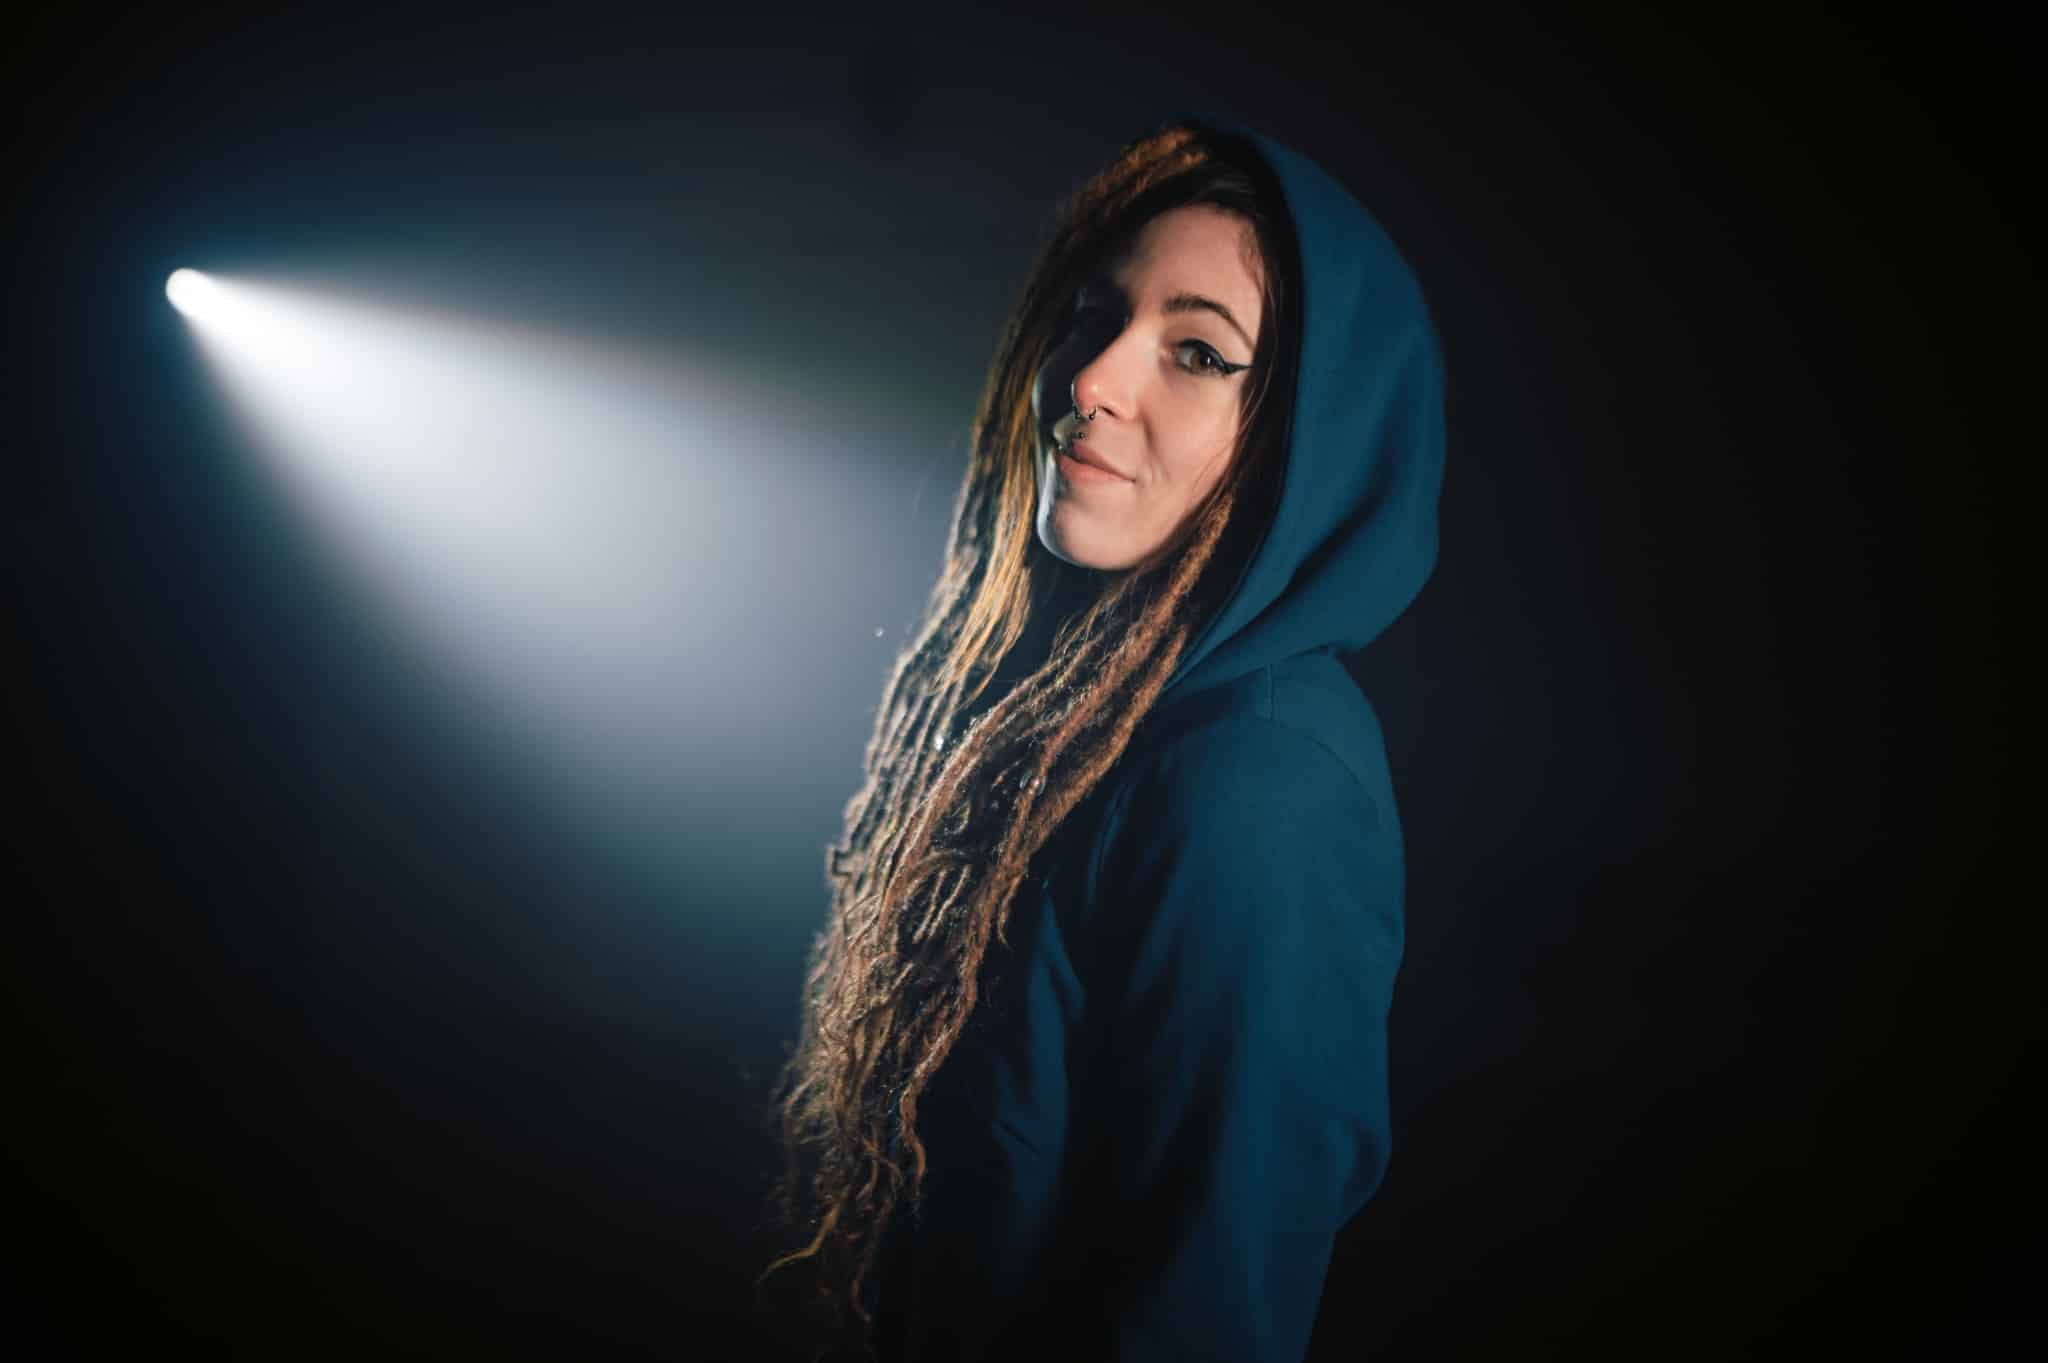
Nikon Z6, 24mm f1.4, ane/125, ISO 160.
This type of lighting may bring to mind a concert stage or police search. It depends on the context and your imagination. The main subject is always placed at the terminate of the lite beam. This improves composition and grabs the attending of the viewer.
The cardinal light and backlight are prepare opposite one another. This creates a sense of drama.

Nikon Z6, 24mm f1.4, 1/125, ISO 160.
Brush the dust off your flashlight and start creating! There are enough of options to explore. All you demand to do is go inspired and accept at information technology!
Source: https://learn.zoner.com/effective-light-rays-how-to-easily-create-and-use-them-in-your-photography/
Posted by: boyerwalach84.blogspot.com
0 Response to "What Make Cameras Make Rays"
Post a Comment